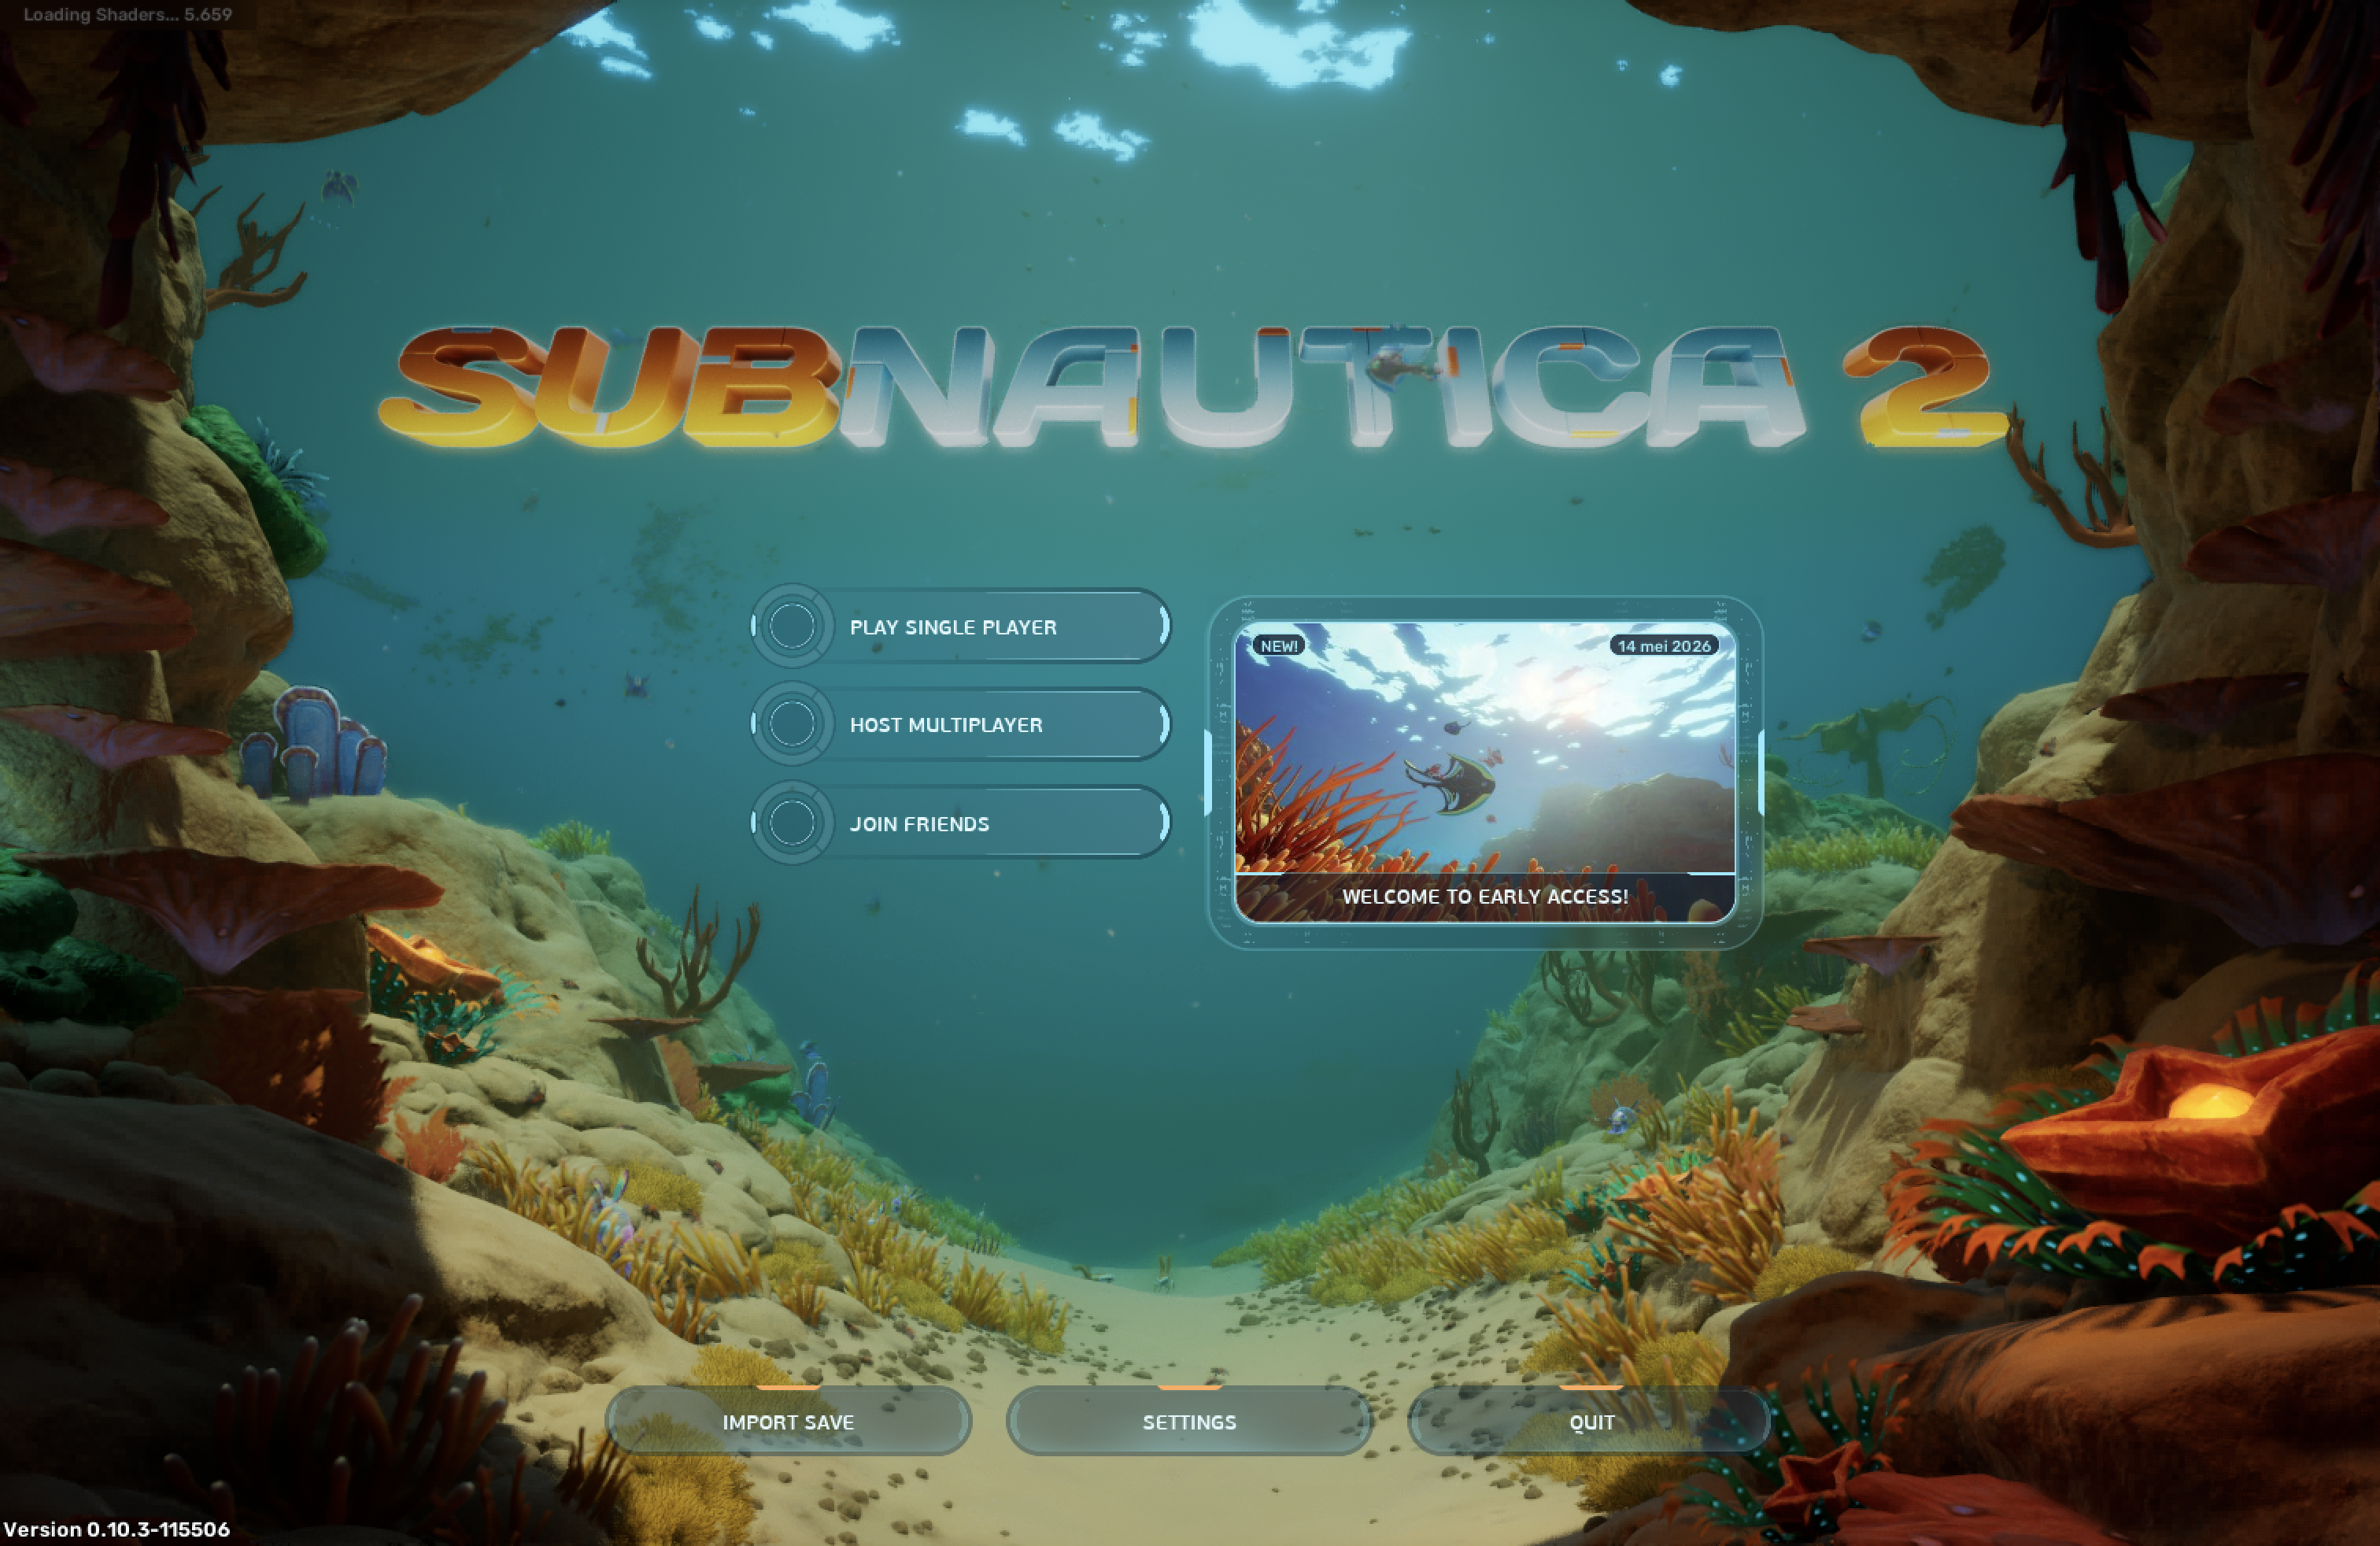
In this blog, I will go over the steps required to run Subnautica 2, witch is currently in Early Access and Windows only, on MacOS using CrossOver.
Note: Please note that the screenshots in this guide are in Dutch. The steps and descriptions will be in English.
Disclaimer
I’m running a MacBook Pro with an M4 Pro and 24GB of RAM. When using the Medium Preset, I’m having a playable game, but surely not better then a console. I’m guessing it’s running between 20 and 30 FPS. Switching from my 14” Retina screen to a 1080p monitor did not make a noticable difference either.
I saw a Reddit user report getting 120+ FPS on a M4 Max with 128GB of RAM (framegen settings unknown), and a friend of mine is having about 90FPS on his GeForce RTX 5070 Ti (on Windows 11), but only with framegen and DLSS turned up to max. Keep in mind that this is a demanding game in Early Access, and your mileage may vary.
Step 1: Create a Windows 11 Steam Bottle
First thing to do is to create a Steam bottle that uses Windows 11 in CrossOver. To do this, open CrossOver, go to Install (Installeren) in the bottom left and click Steam. Here, first click the seccond button Change (Wijzigen) where it says Windows 10 is selected for the bottle.
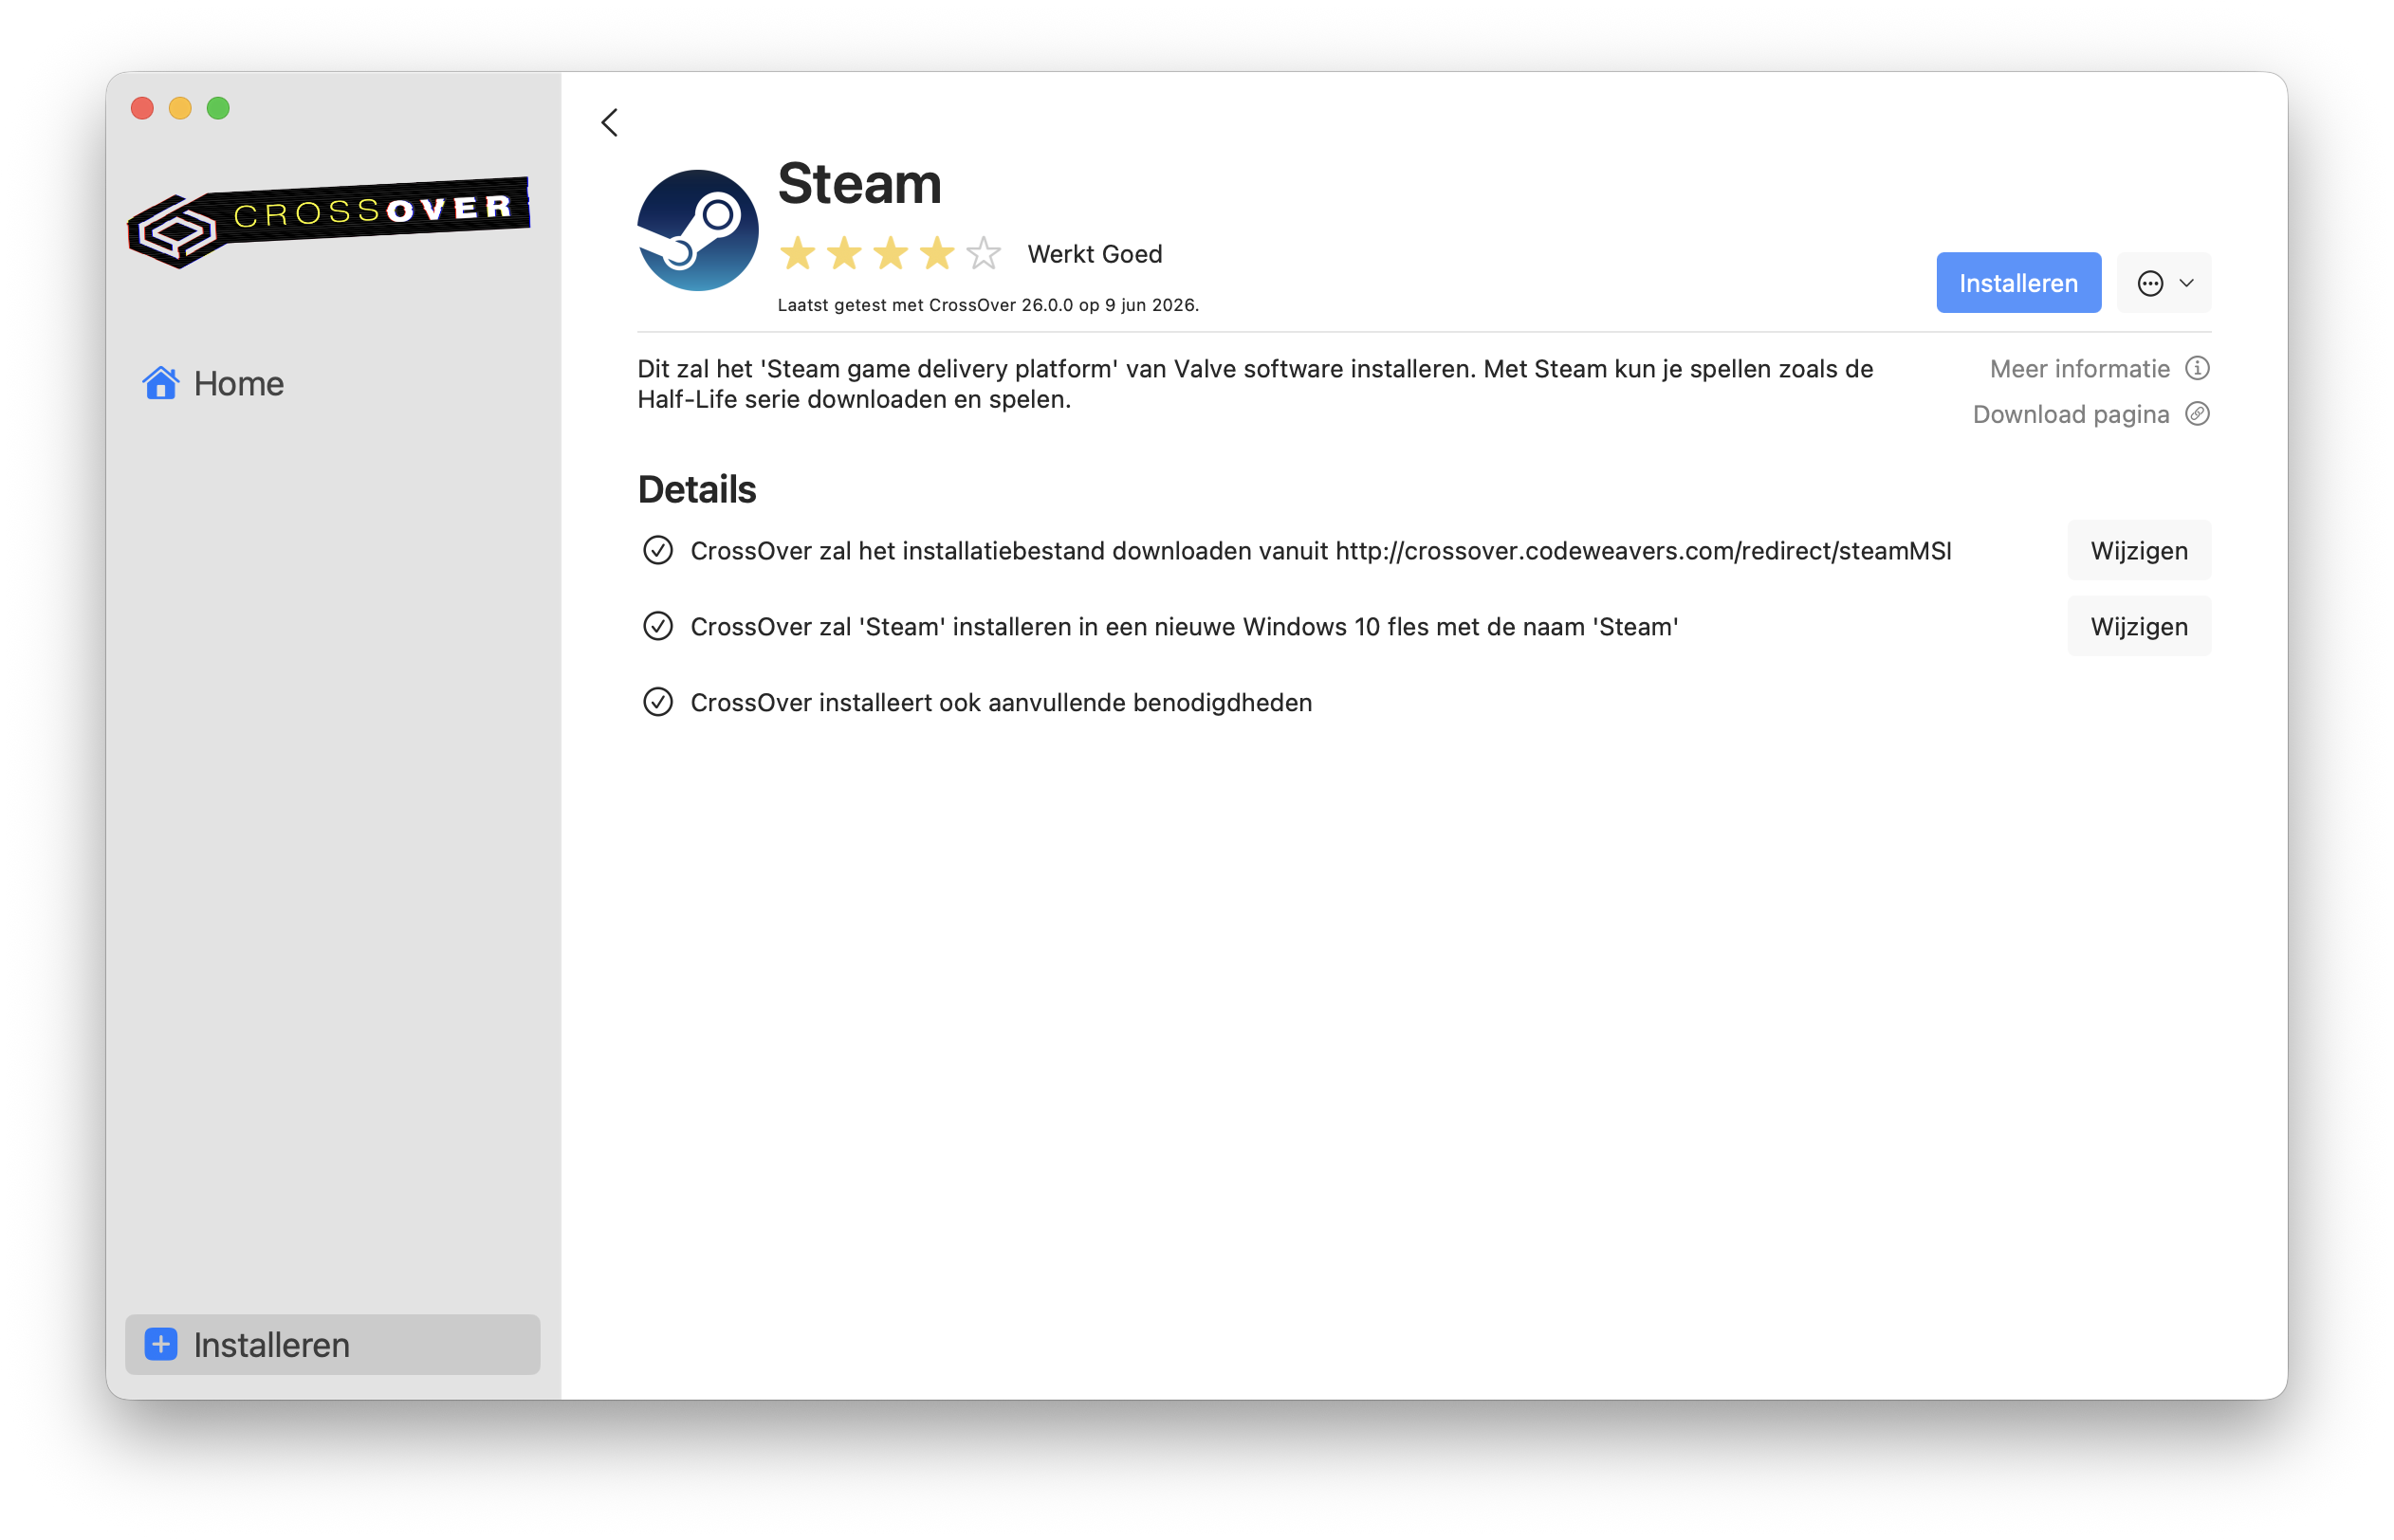
In here, you select Windows 11 in the dropdown and click Done (Gereed). Then you click the blue Install (Installeren) button to install the bottle.
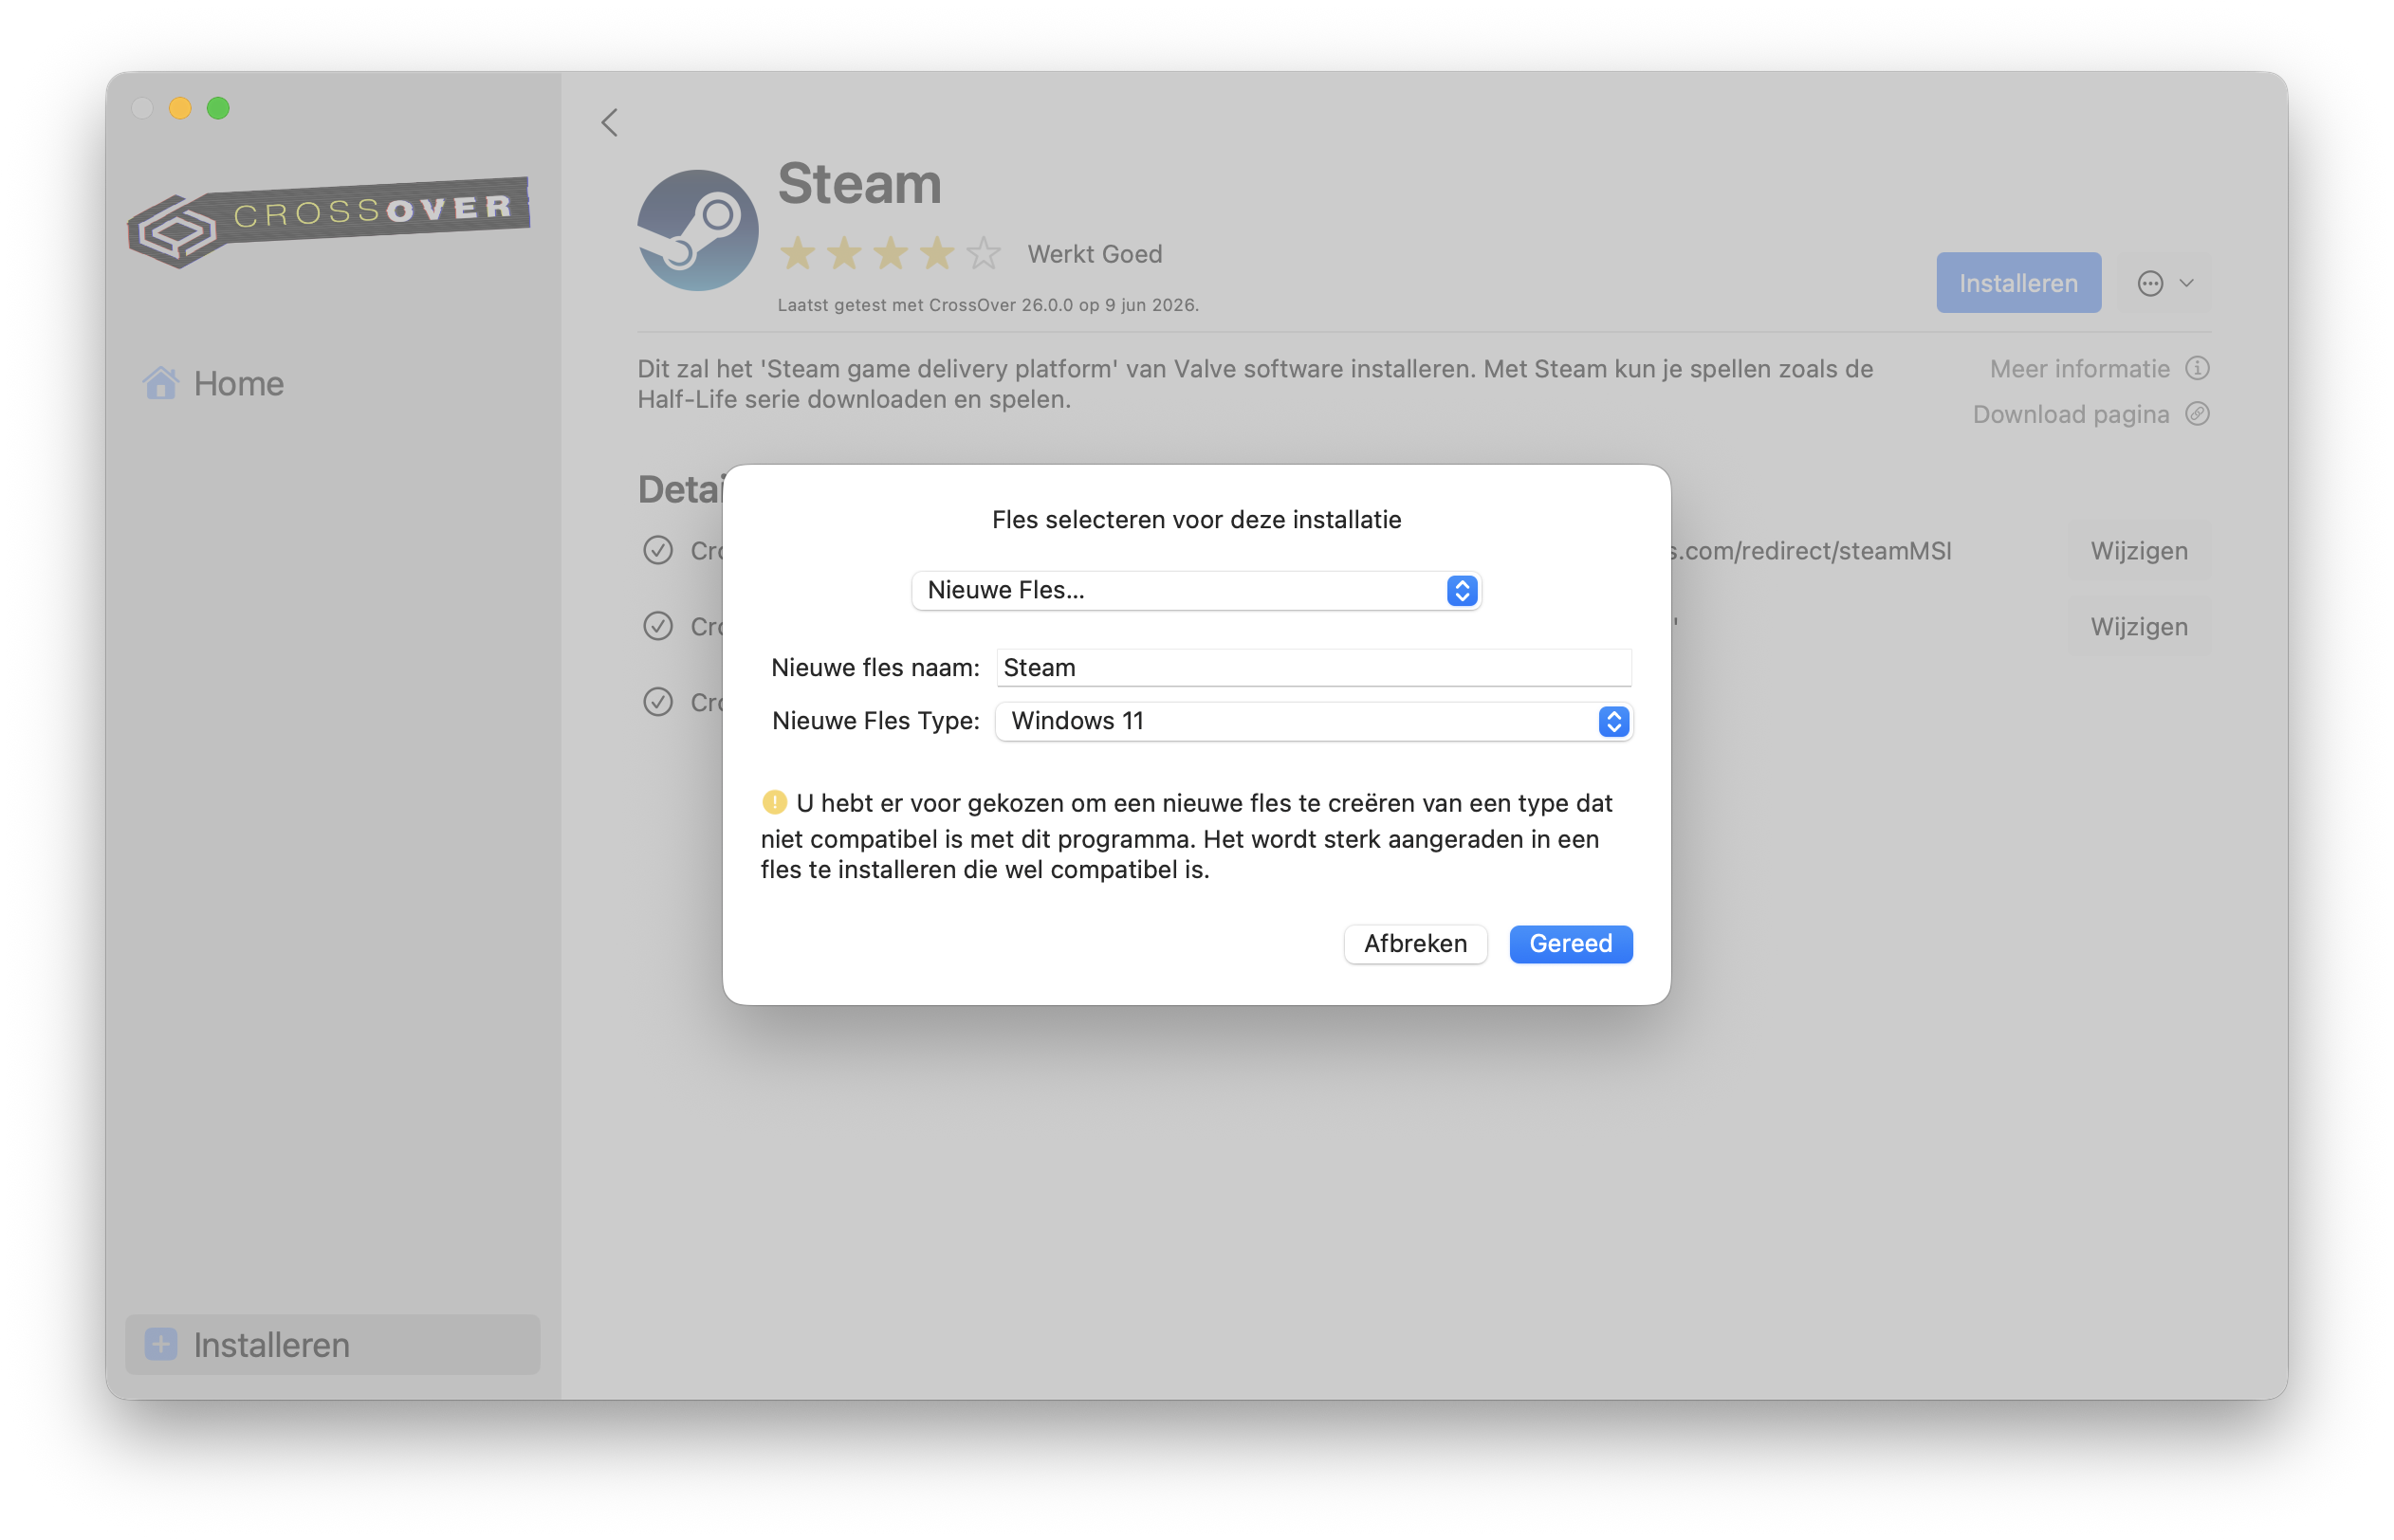
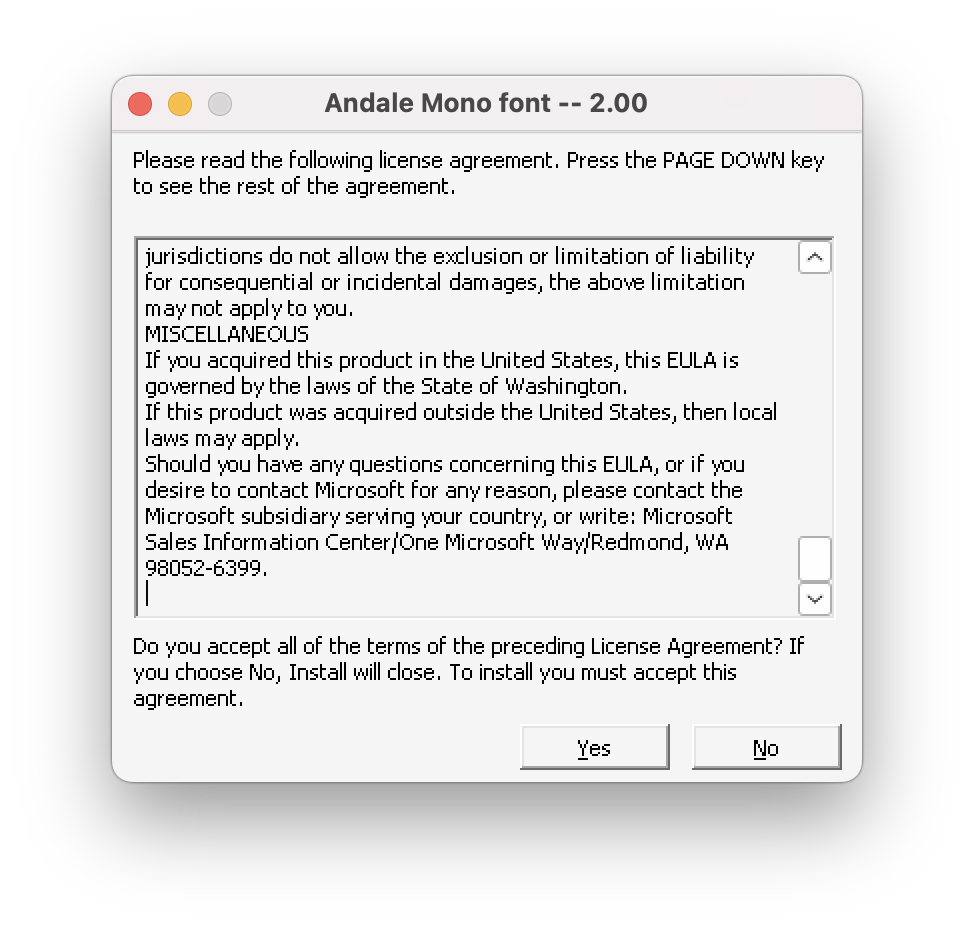
During this process, it will ask you to except the terms. Click Yes.
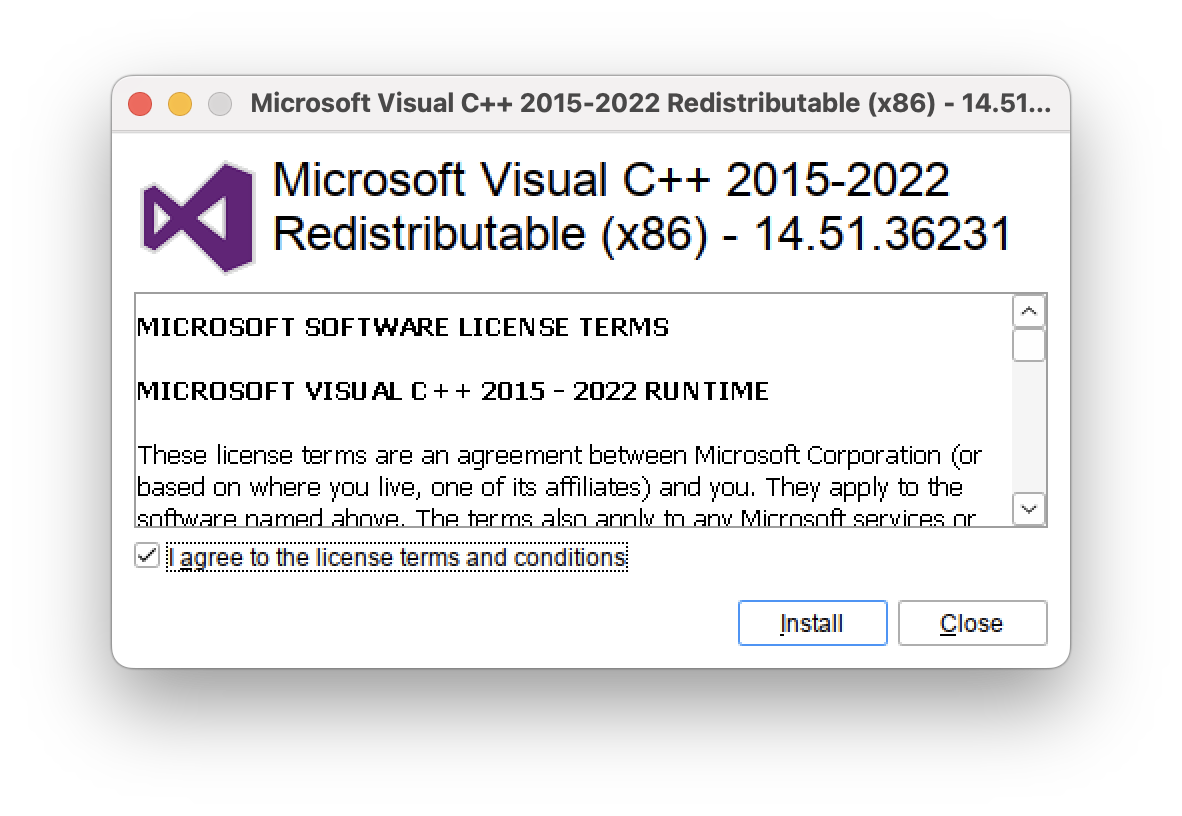
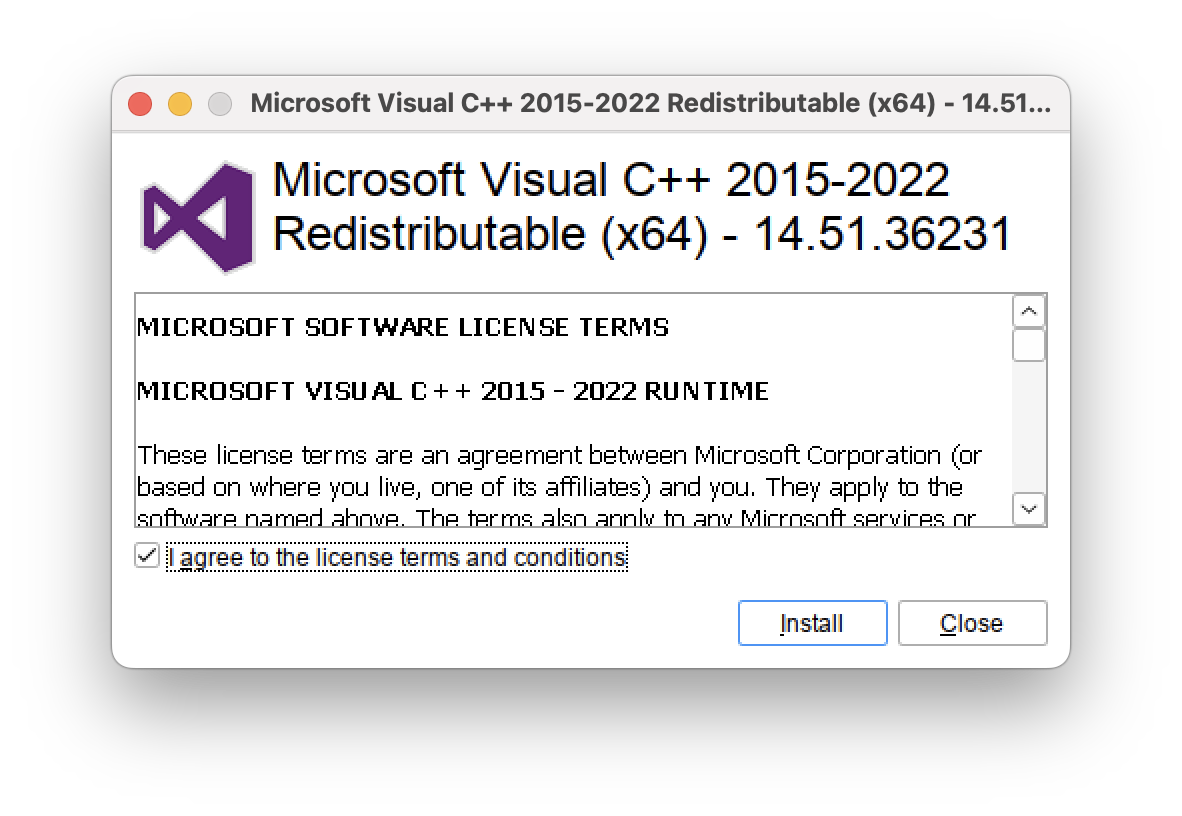
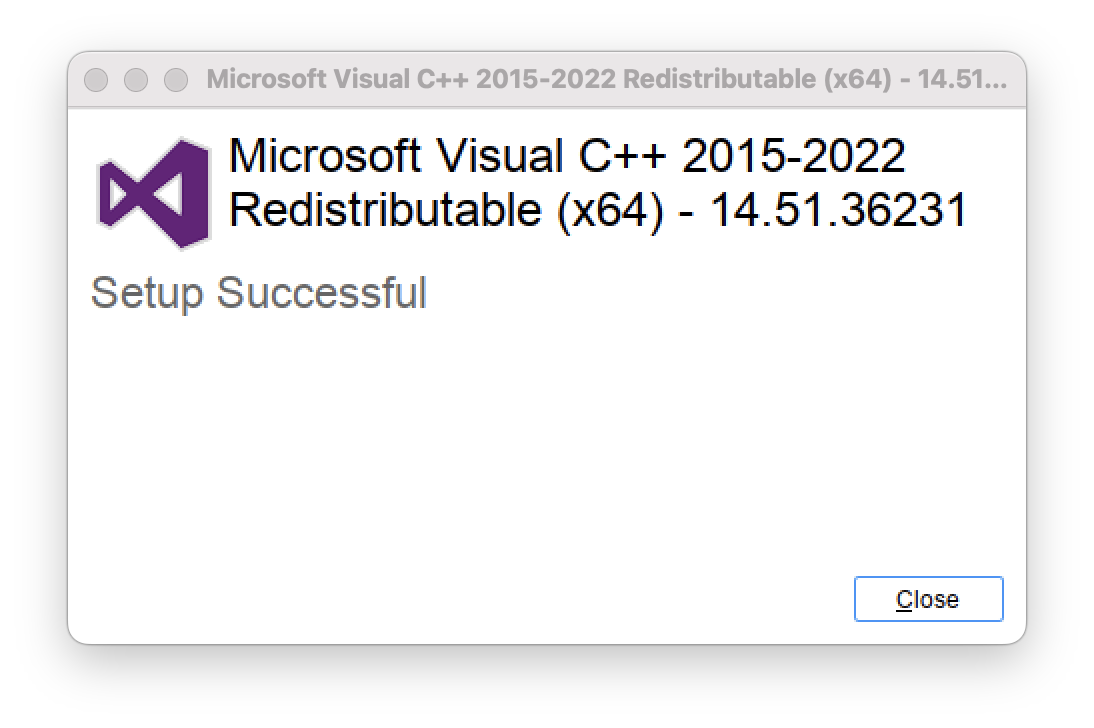
Now you will be asked to install Microsoft Visual C++. Yust click Accept > Install and then Close for both.
Step 2: Setup Steam and install Subnautica 2
For this step, I assume you know how you can login to your Valve account and install Subnautica 2 in Steam.
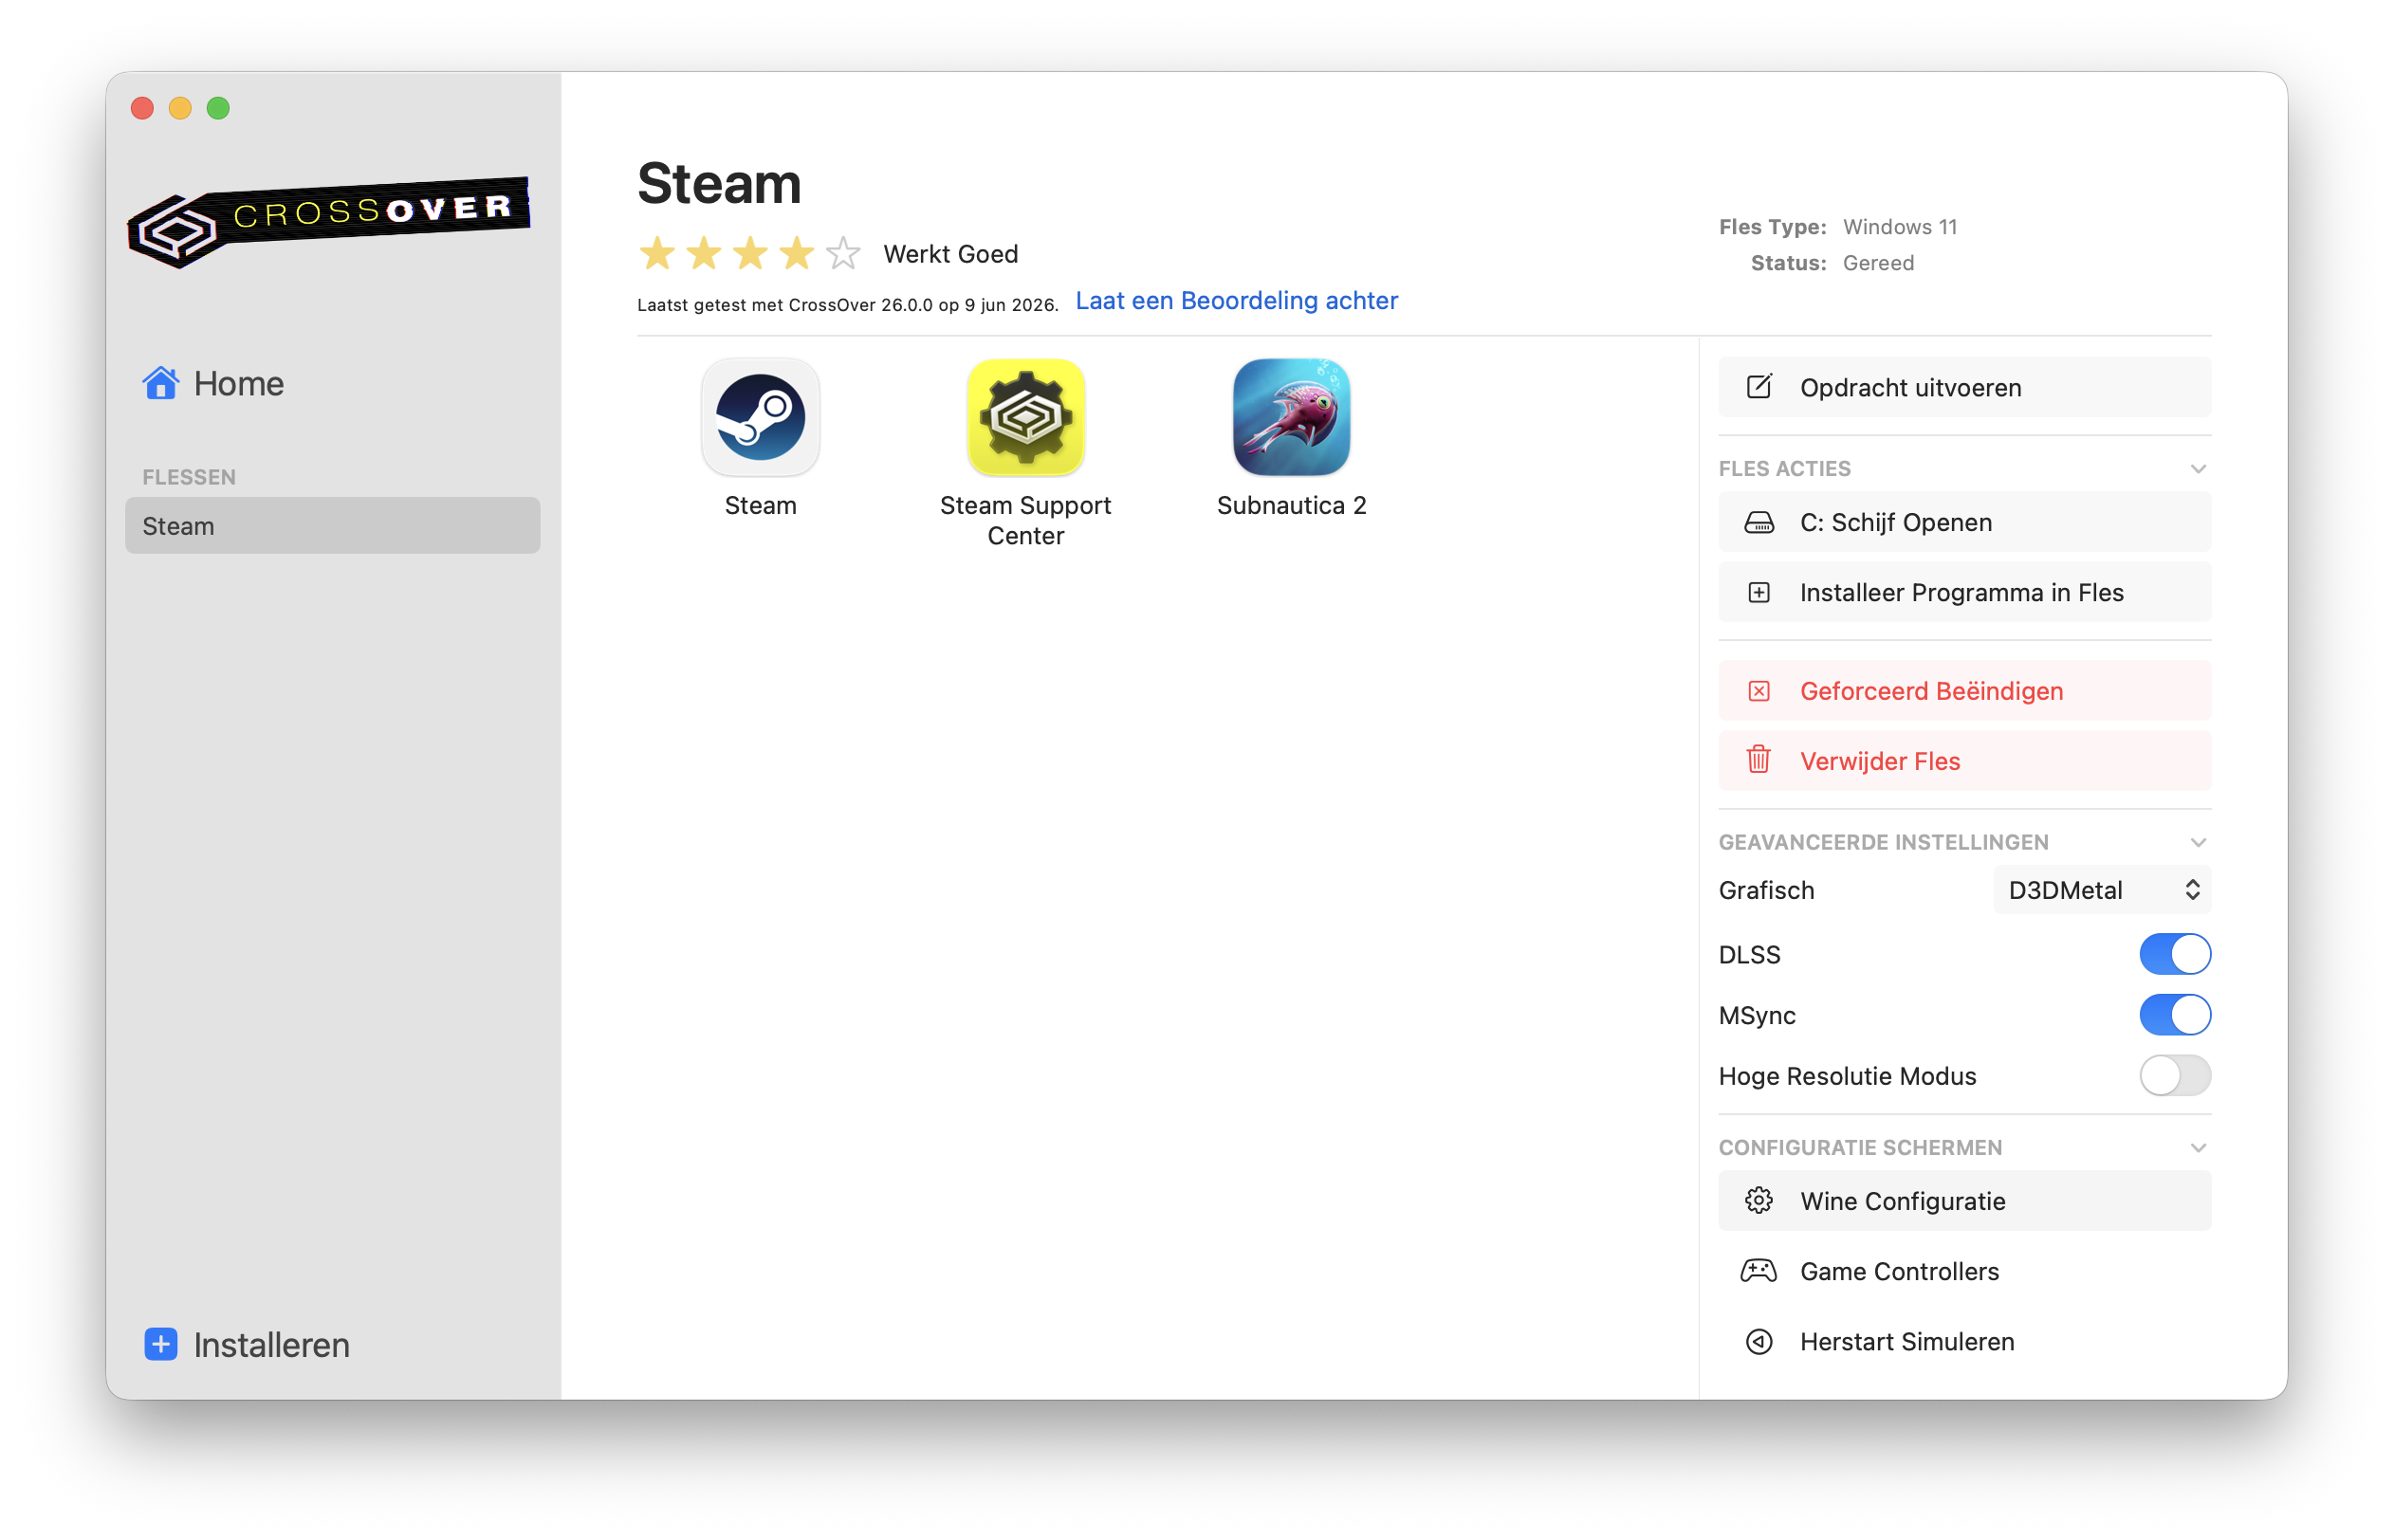
First perform the following tweaks to your bottle settings:
- Select D3DMetal under Graphics (Grafisch) dropdown
- Enable DLSS
- Enable MSync
- High Resolution mode is optional
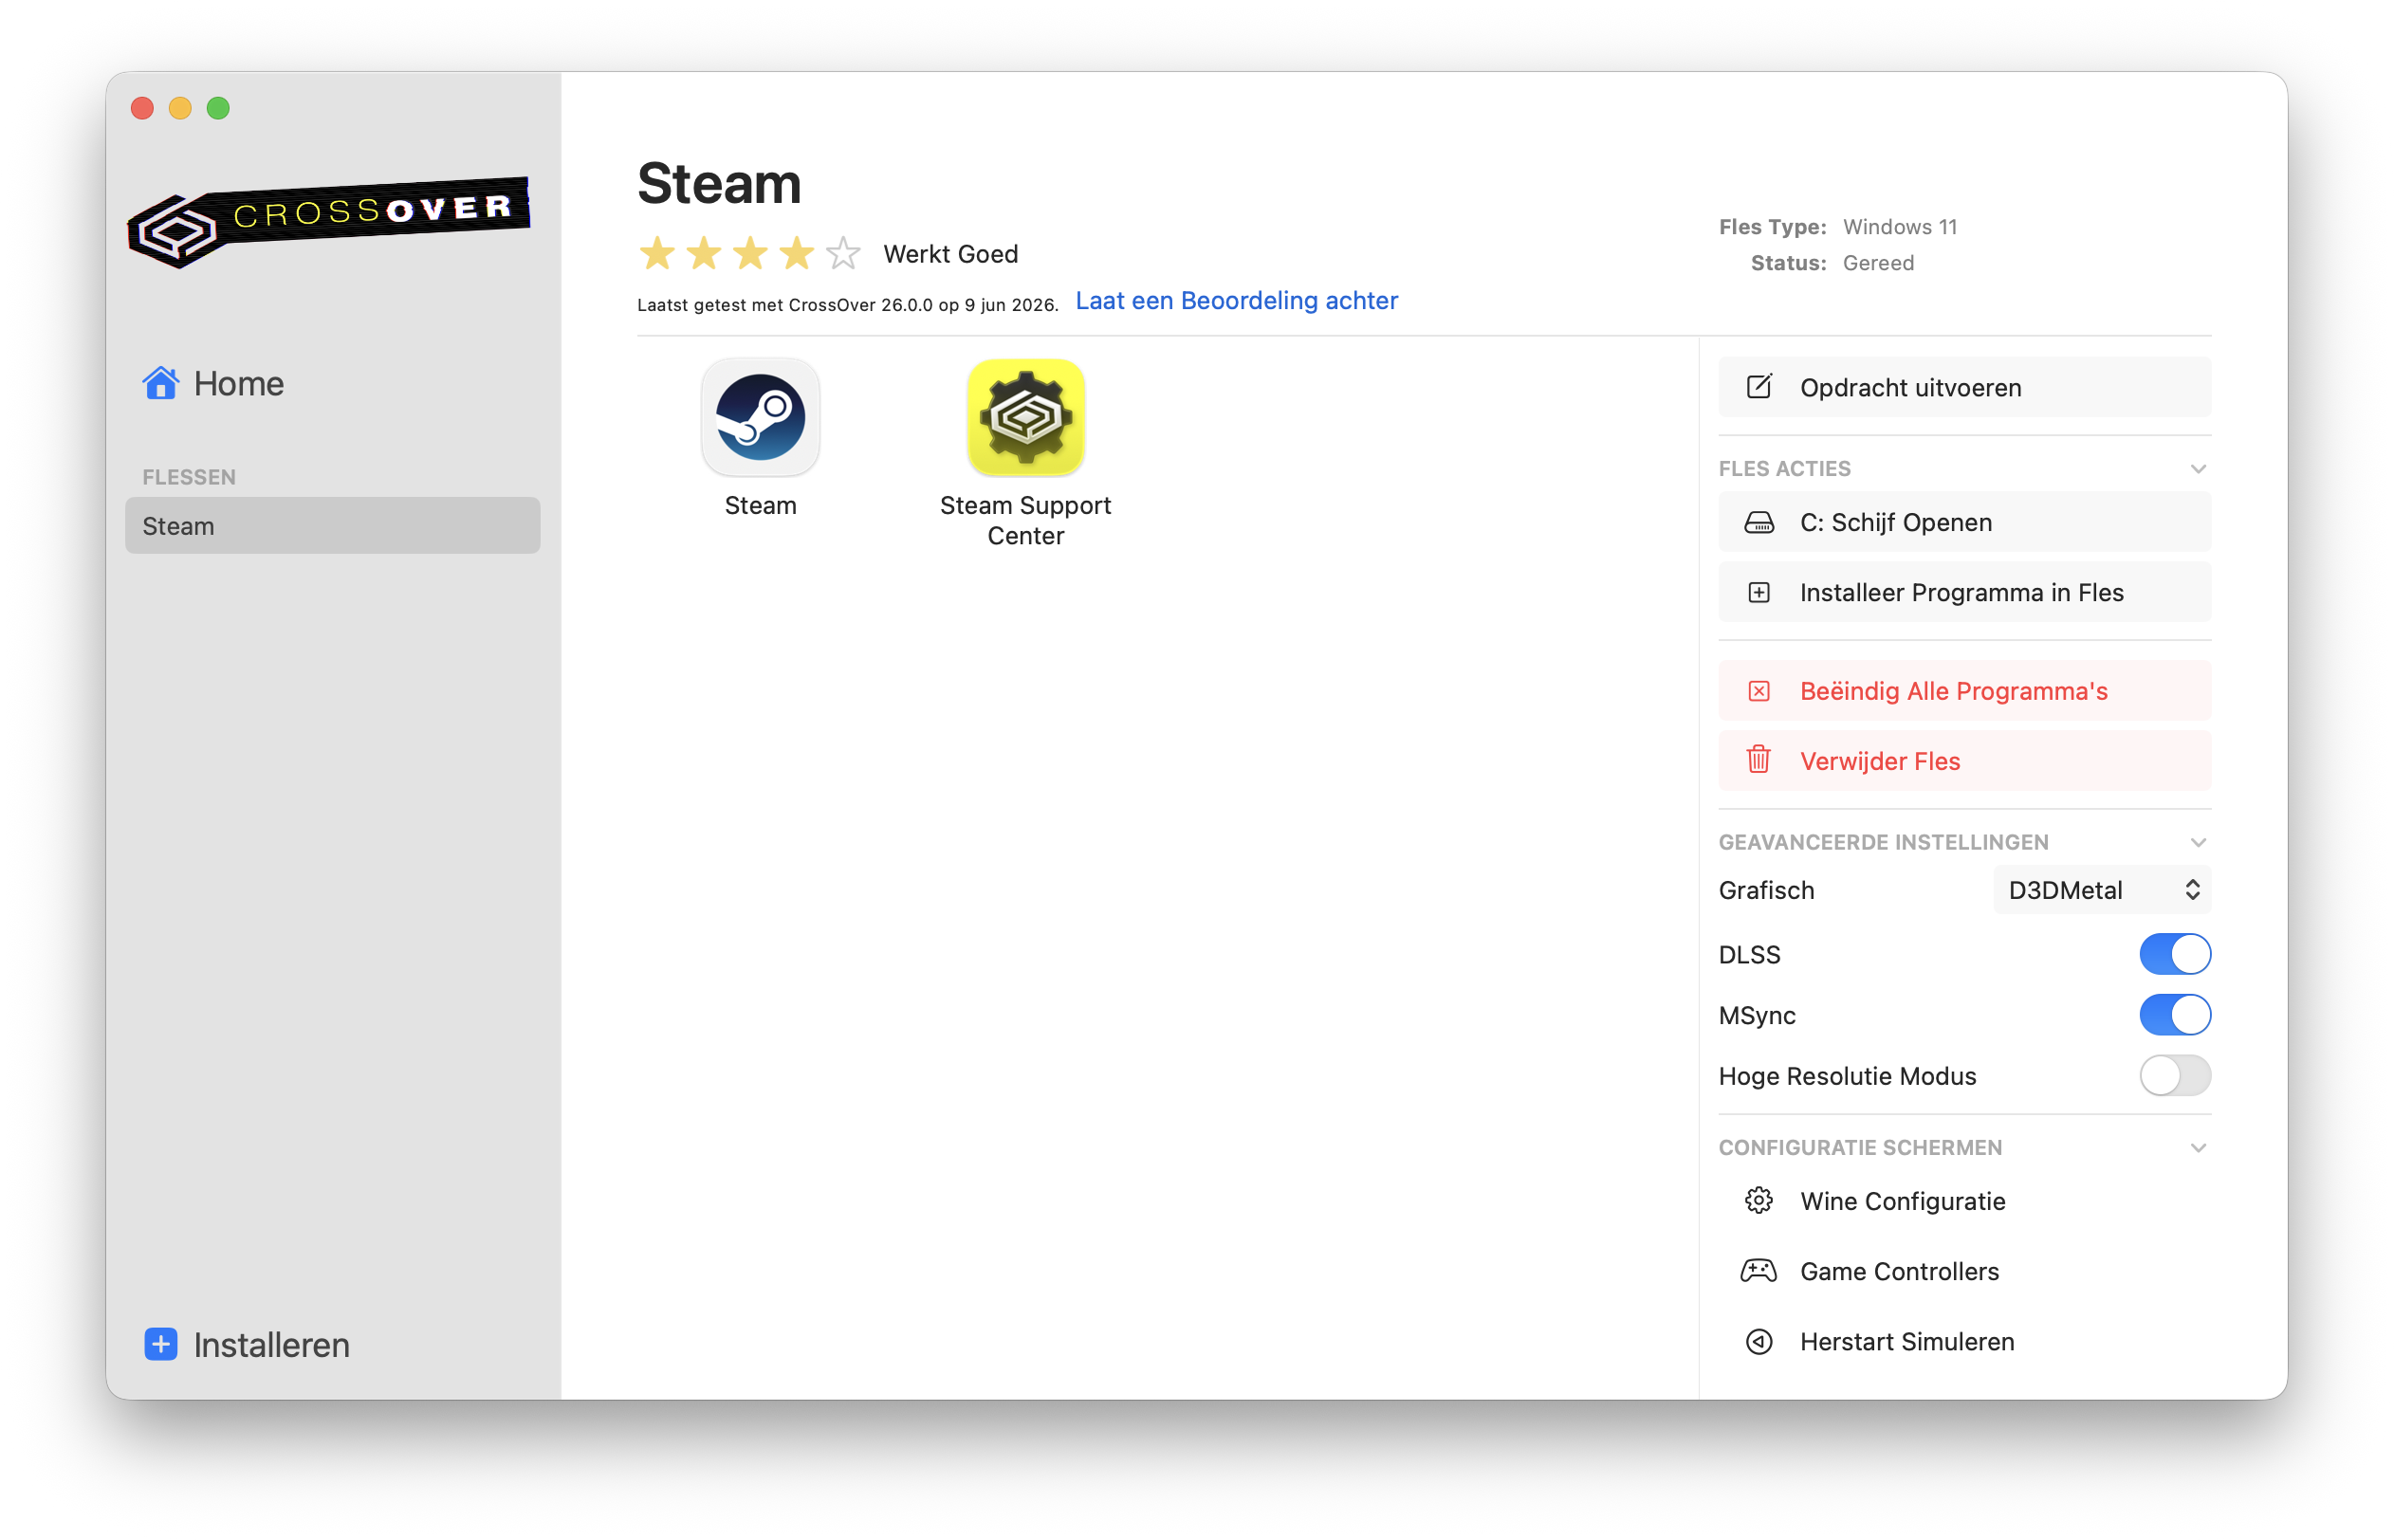
After that, just open Steam by double clicking on the app icon. Here, you log in to your Valve account and install Subnautica 2.
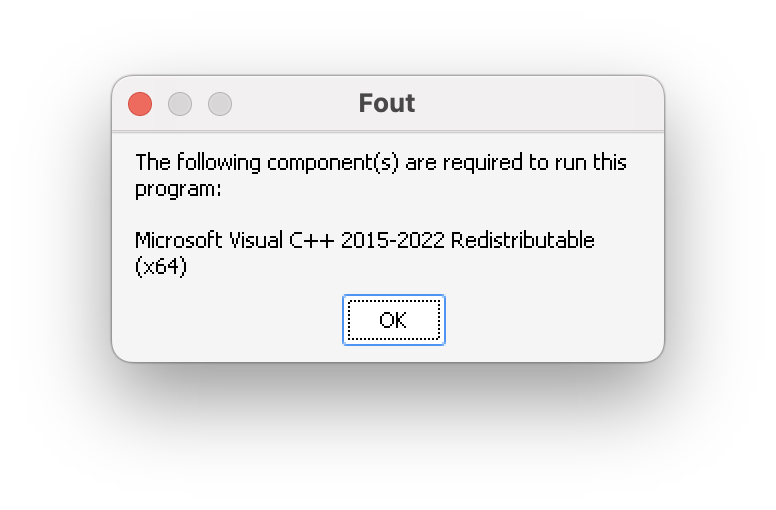
When you try to open Subnautica 2, you will run into this error for Microsoft Visual C++. Let’s fix that.
Step 3: Fixing Microsoft Visual C++
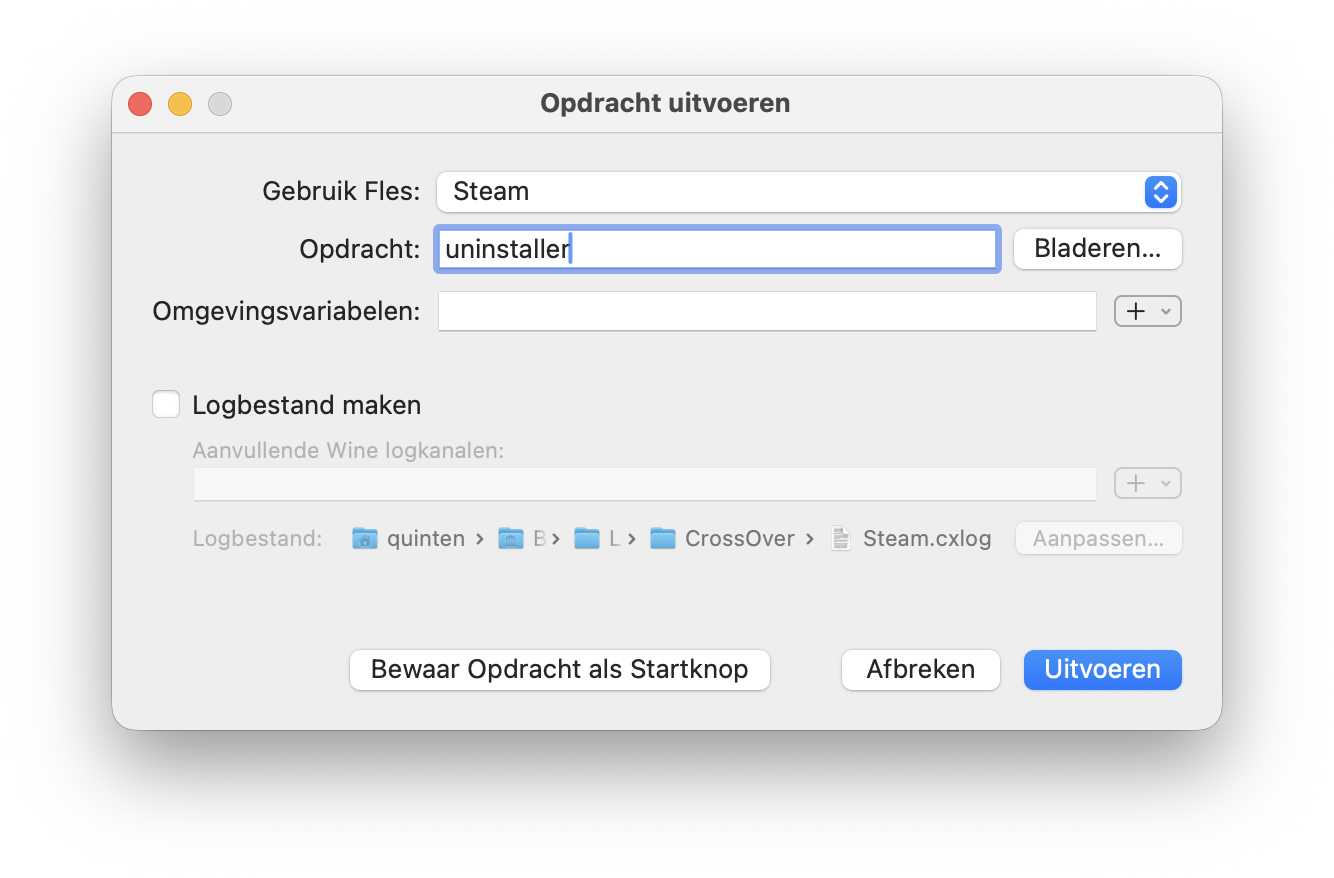
Start by closing all programs currently running in the bottle by clicking End All Programs (Beëndig Alle Programma’s). After that, you can click Execute Task (Opdracht uitvoeren).
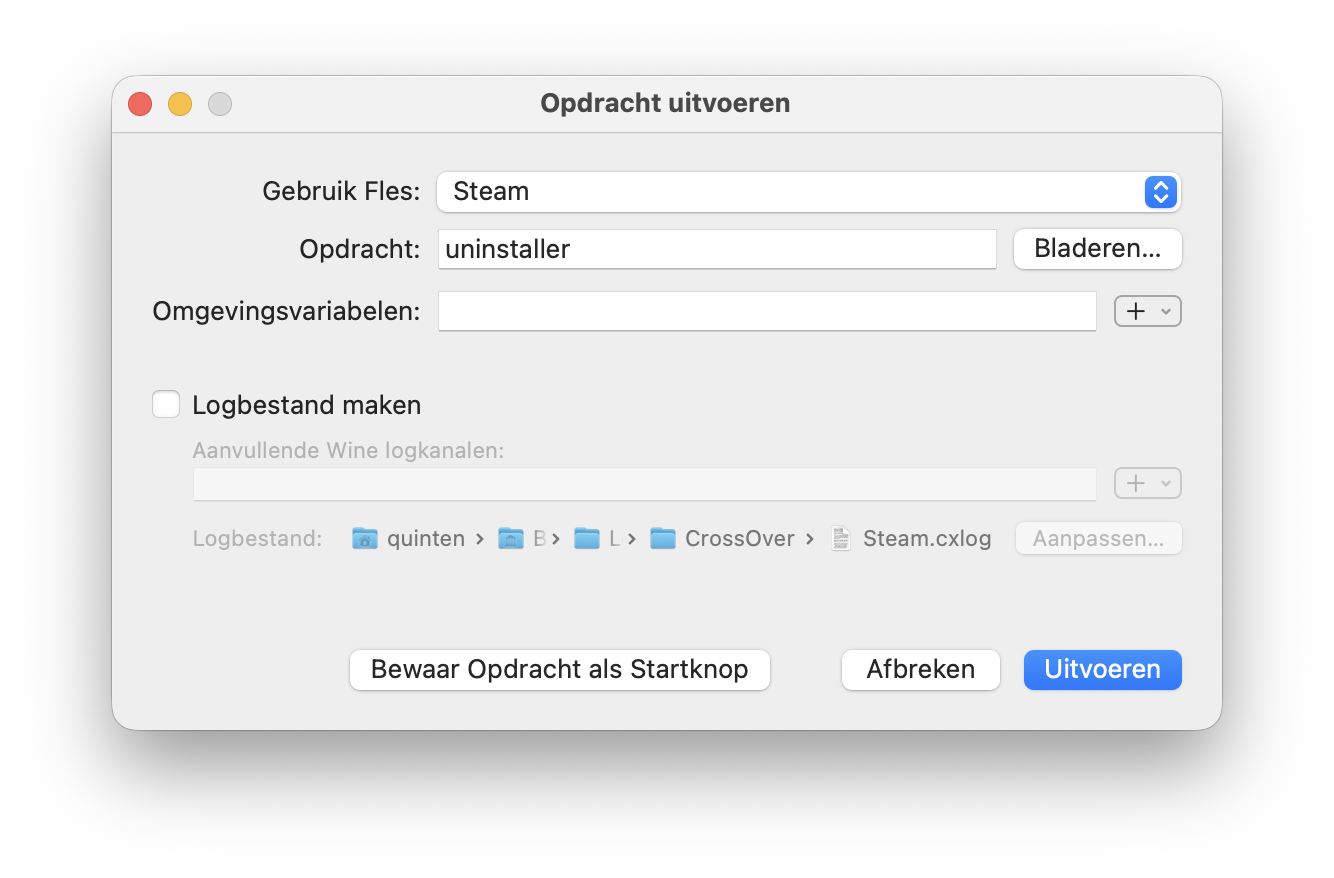
In this window, you have to enter uninstaller and click Execute (Uitvoeren).
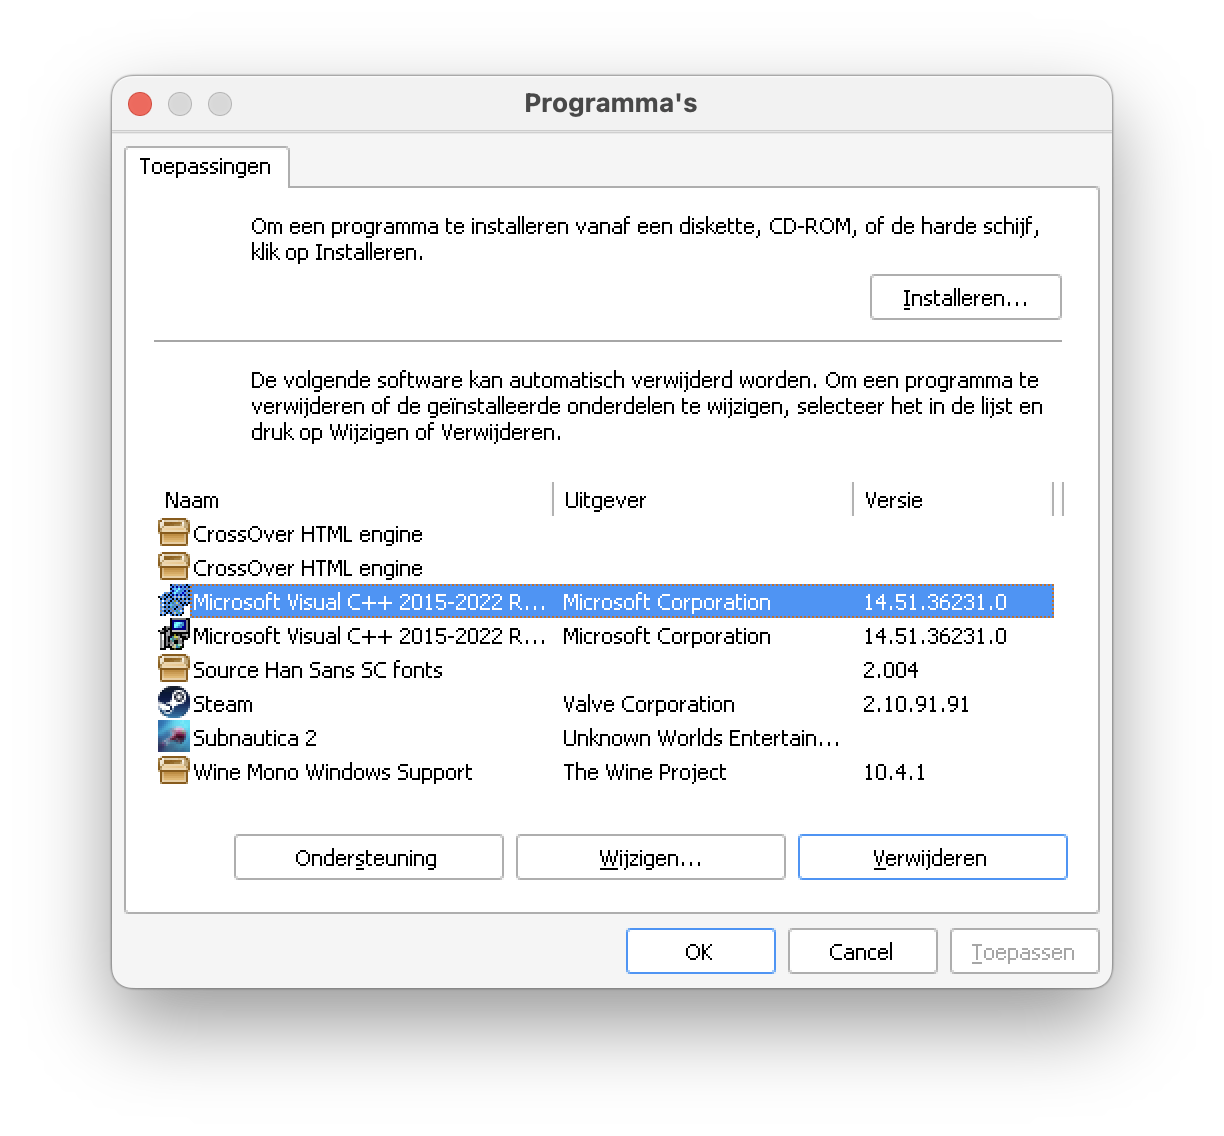
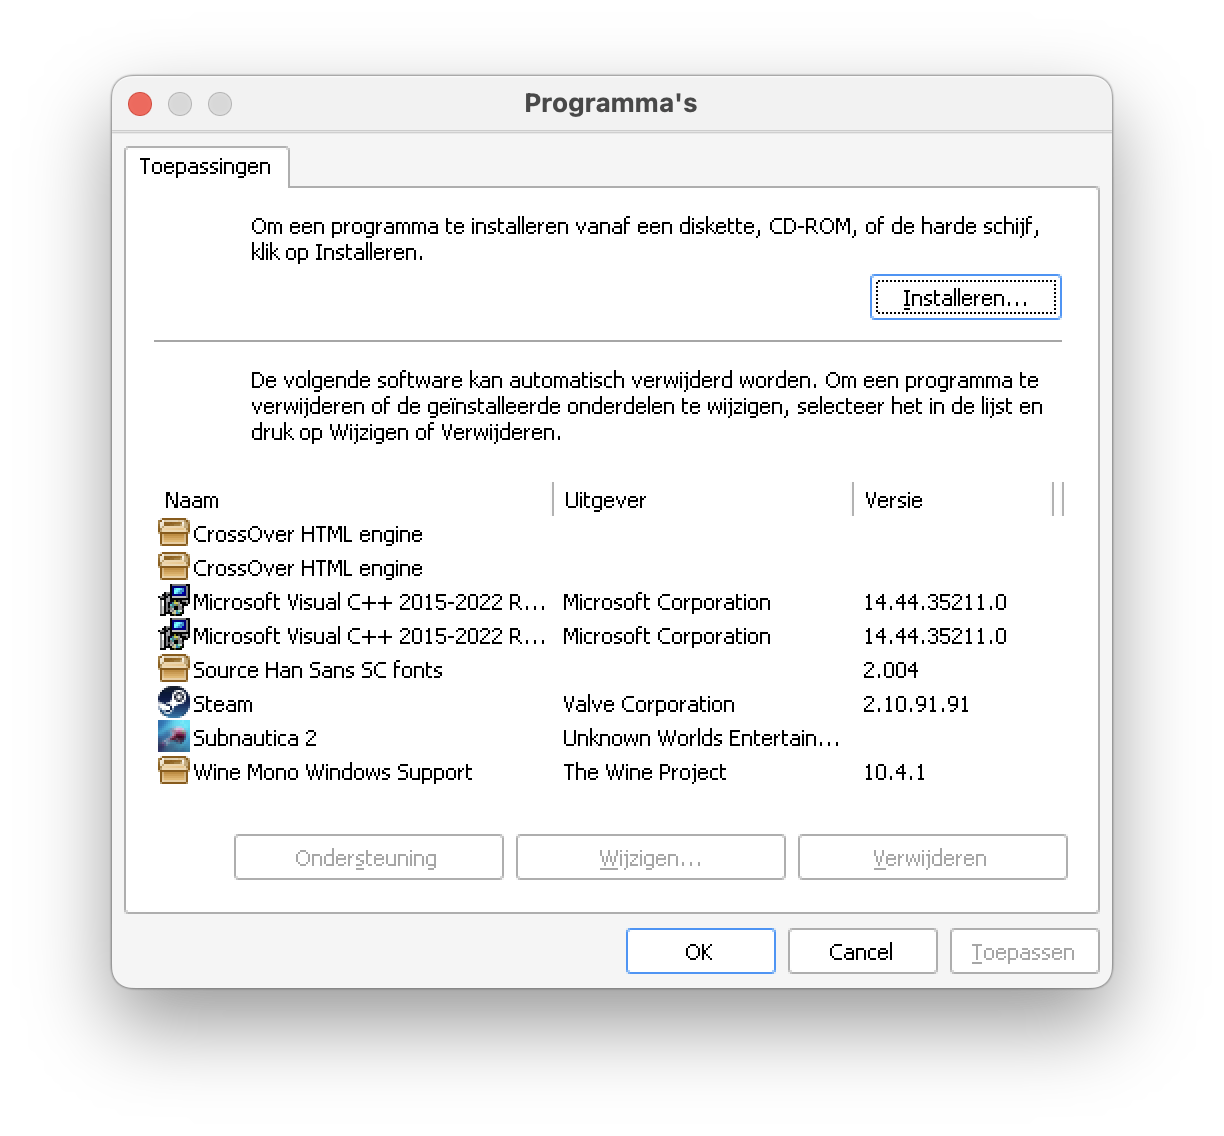
This opens a new window, in witch you want to select Microsoft Visual C++, and click Remove (Verwijderen).
Note: It does not matter witch one you uninstall first. Both have to go.
In this popup, click Uninstall.
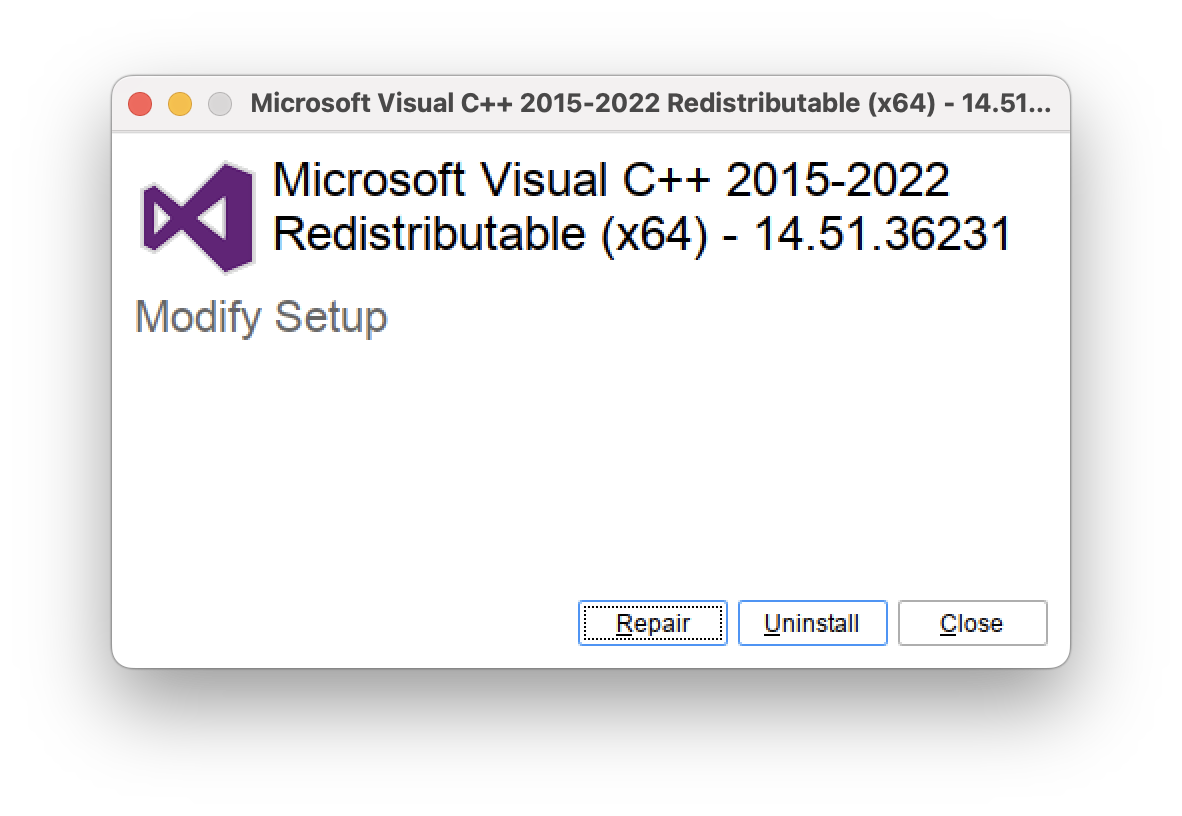
Then in this one, click Close.
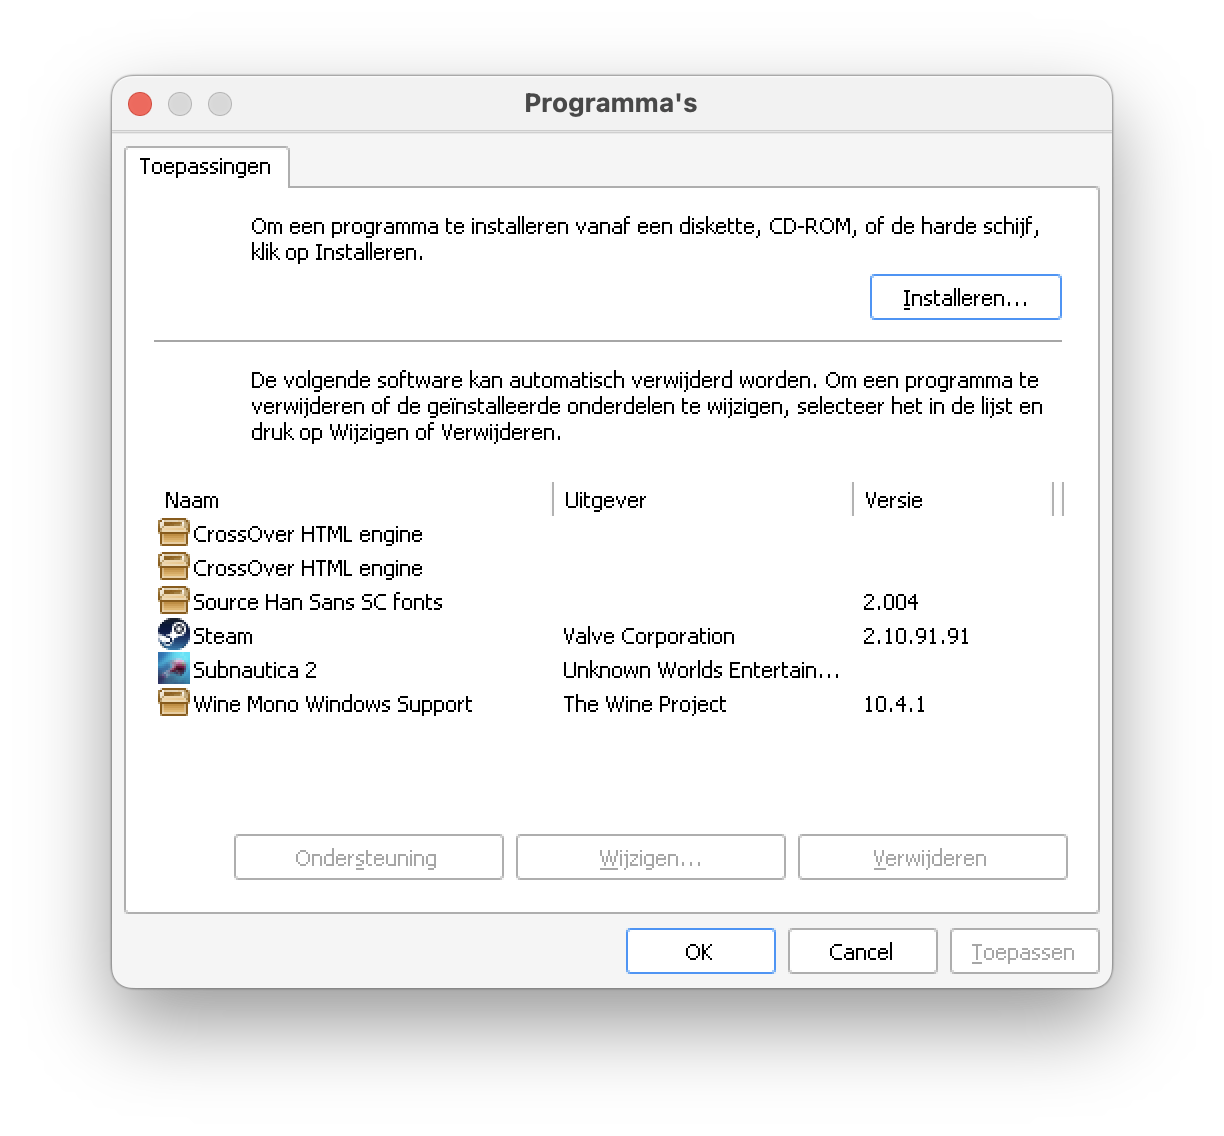
Now repeat this for the other Microsoft Visual C++. If all goes well, you should see that both of them are gone.
Now you have to reinstall them, by clicking Install (Installeren).
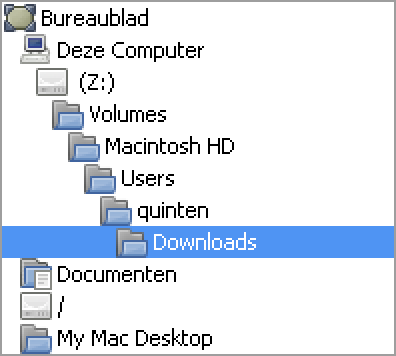
Browse to the Microsoft Visual C++ installers in the z: drive, witch is your local MacOS disk, as can be seen below.
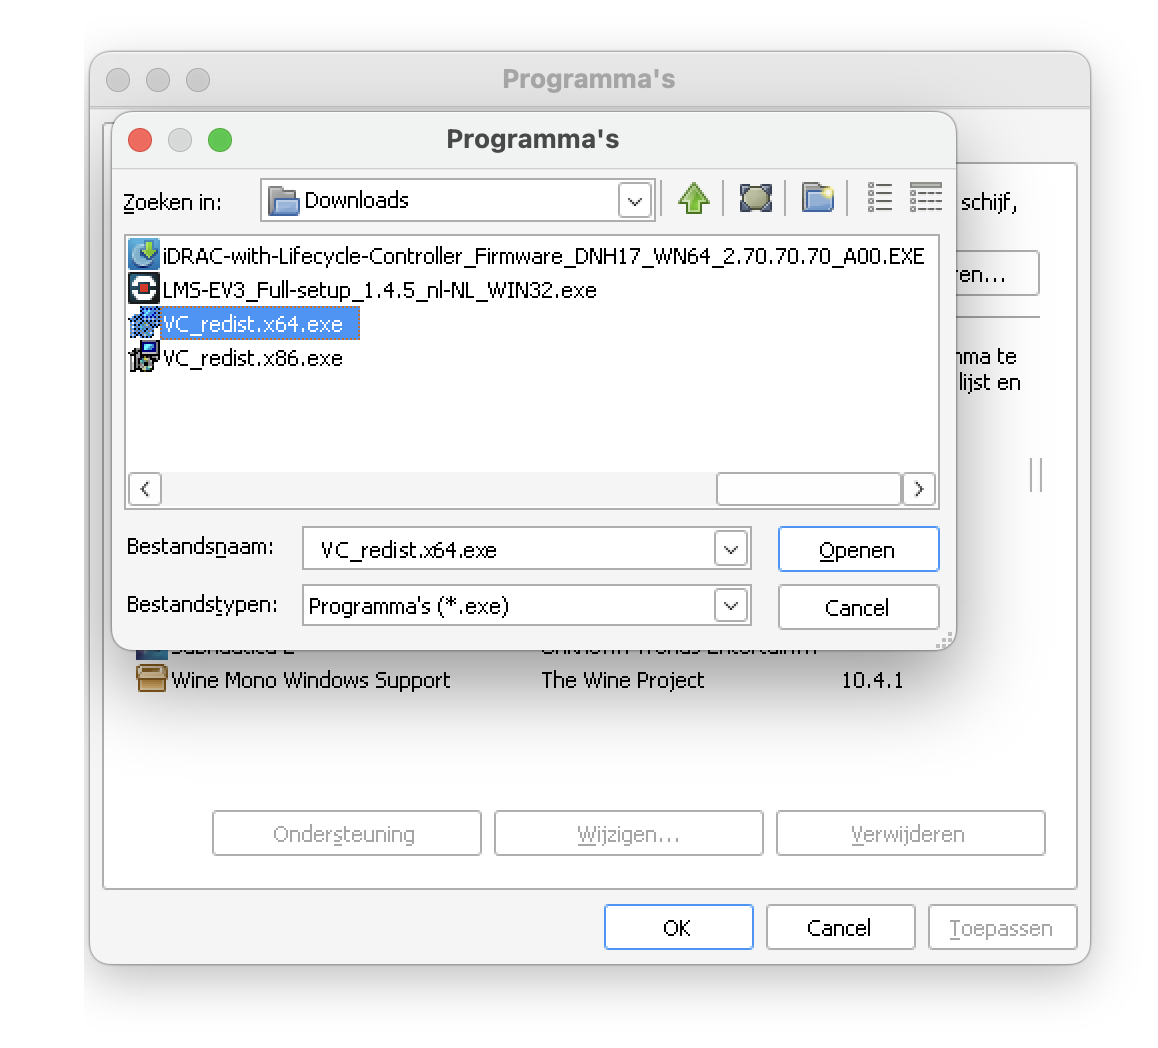
You can download these files, directly from Microsoft or the specific ones I used in this guide from TEQcloud.
Then just navigate to where they are, select them and click Open (Openen).
Note: Again, it does not matter witch one you choose first. Both have to be installed.
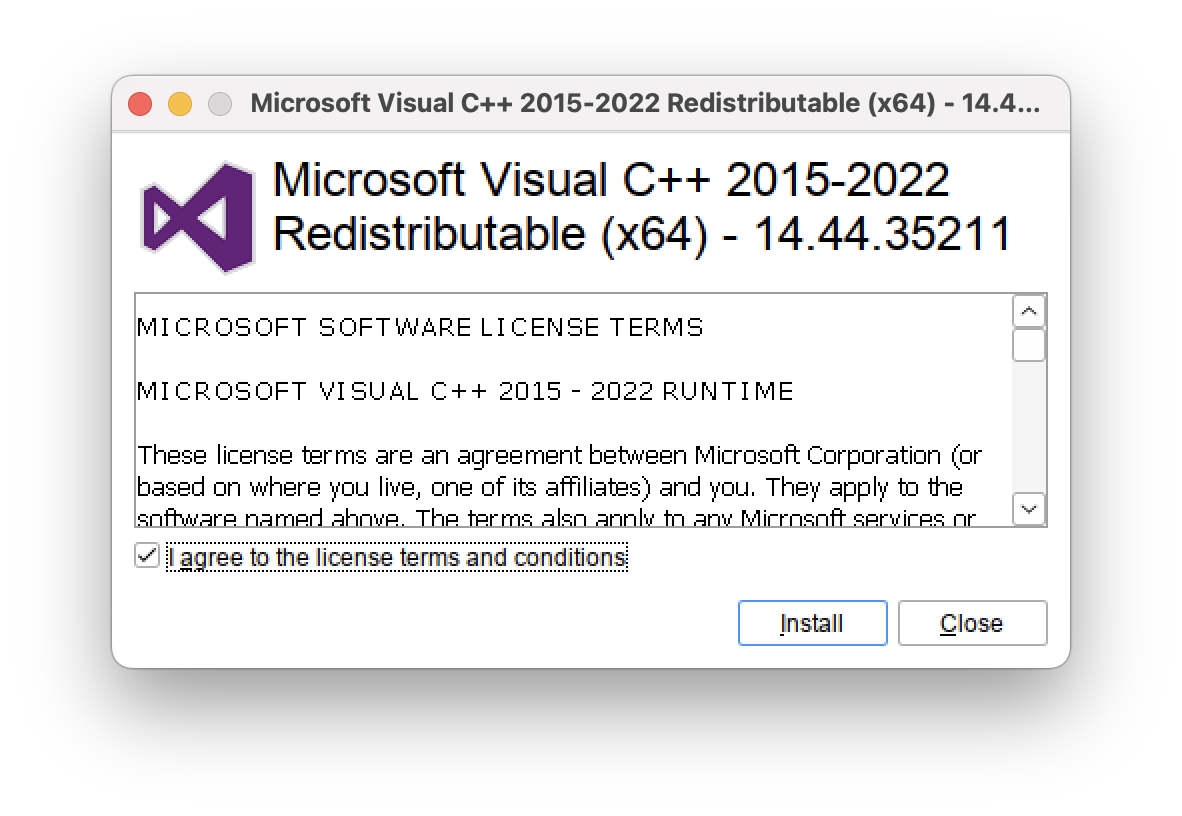
In this popup, check agree license and terms and click Install.
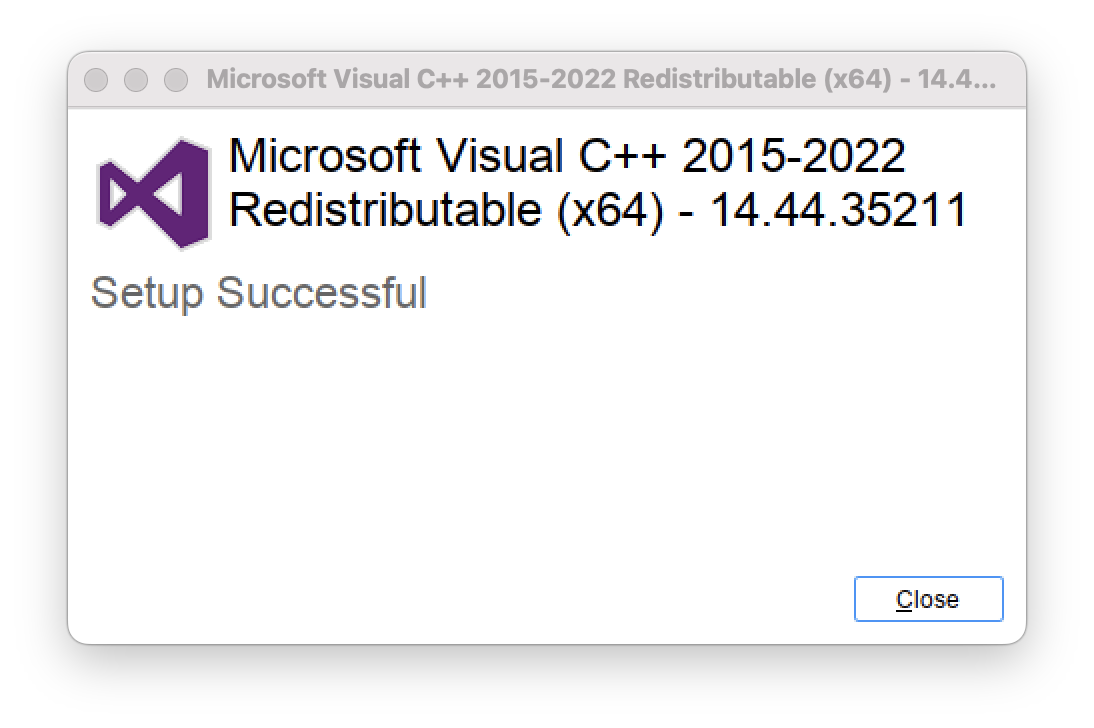
In this one, just click Close. Now repeat the same for the other one.
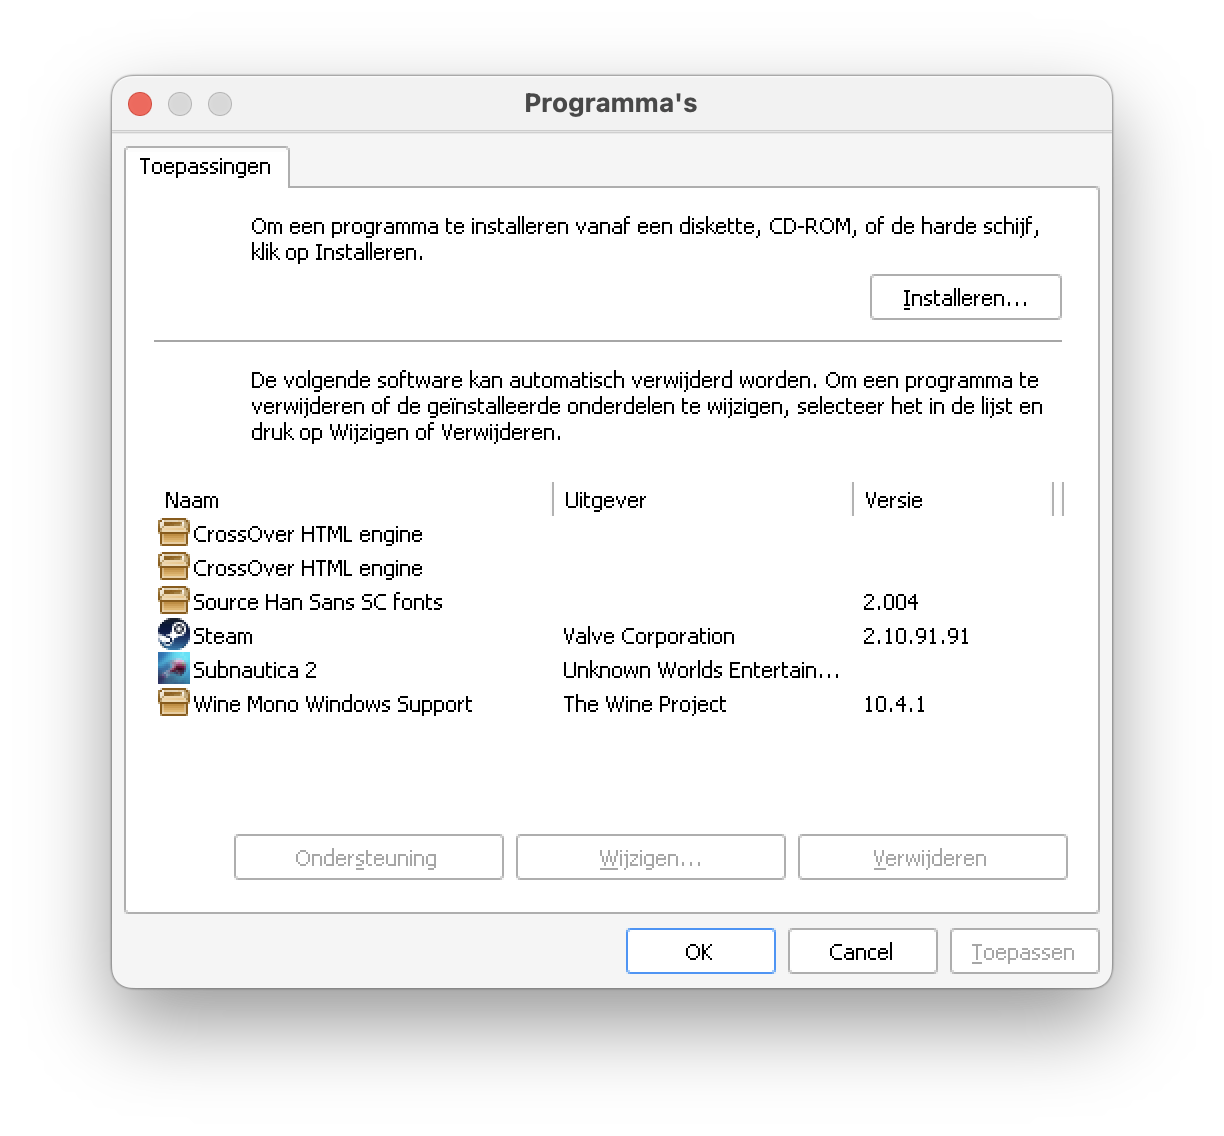
After installing both, just click Apply (Toepassen) and then OK, to close the window.
Note: After installing both Microsoft Visual C++ packages, it is normal behavior that they don’t show up in the Program’s window. Just proceed, the confirmation will come later.
After closing the uninstaller, you will get this error, witch you can safely ignore.
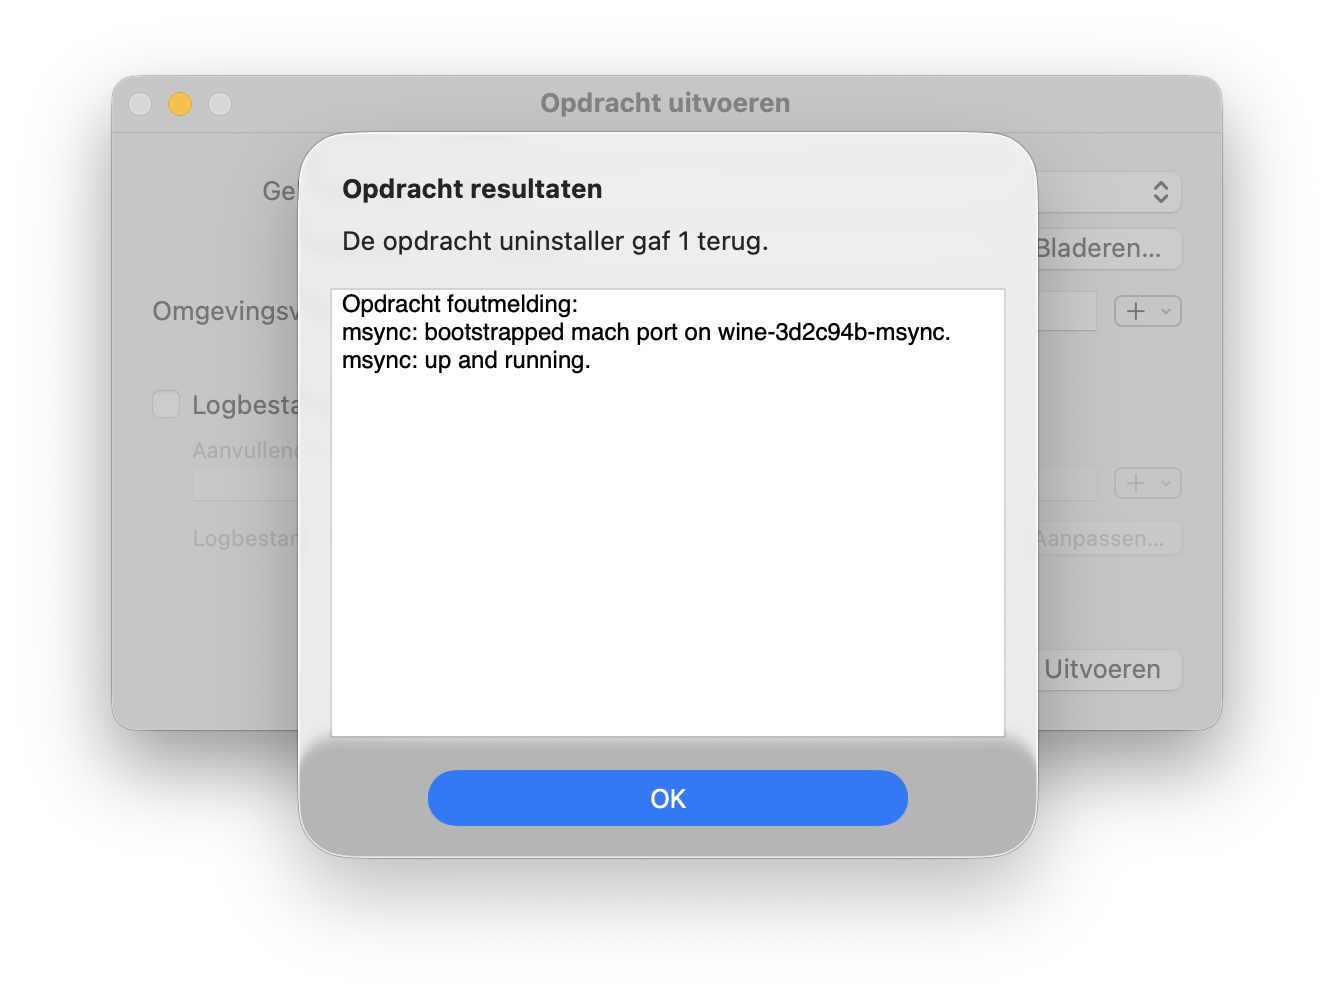
If you want, you can click Execute (Uitvoeren) again, to confirm that Microsoft Visual C++ is installed. If you close again, you will hit the same error.
Now you can click Abort (Afbreken) in the Execute window to close it.
Step 4: Adding necessary Modules
Next, some necessary modules need to be added. To do this, click on Wine Configuration (Wine Configuratie) and go to Libraries (Bibliotheken).
Once here, click the dropdown where it says New DLL Modification (Nieuwe DLL aanpassing) and search for the following modules:
- msvcp140
- msvcp140_1
- msvcp140_2
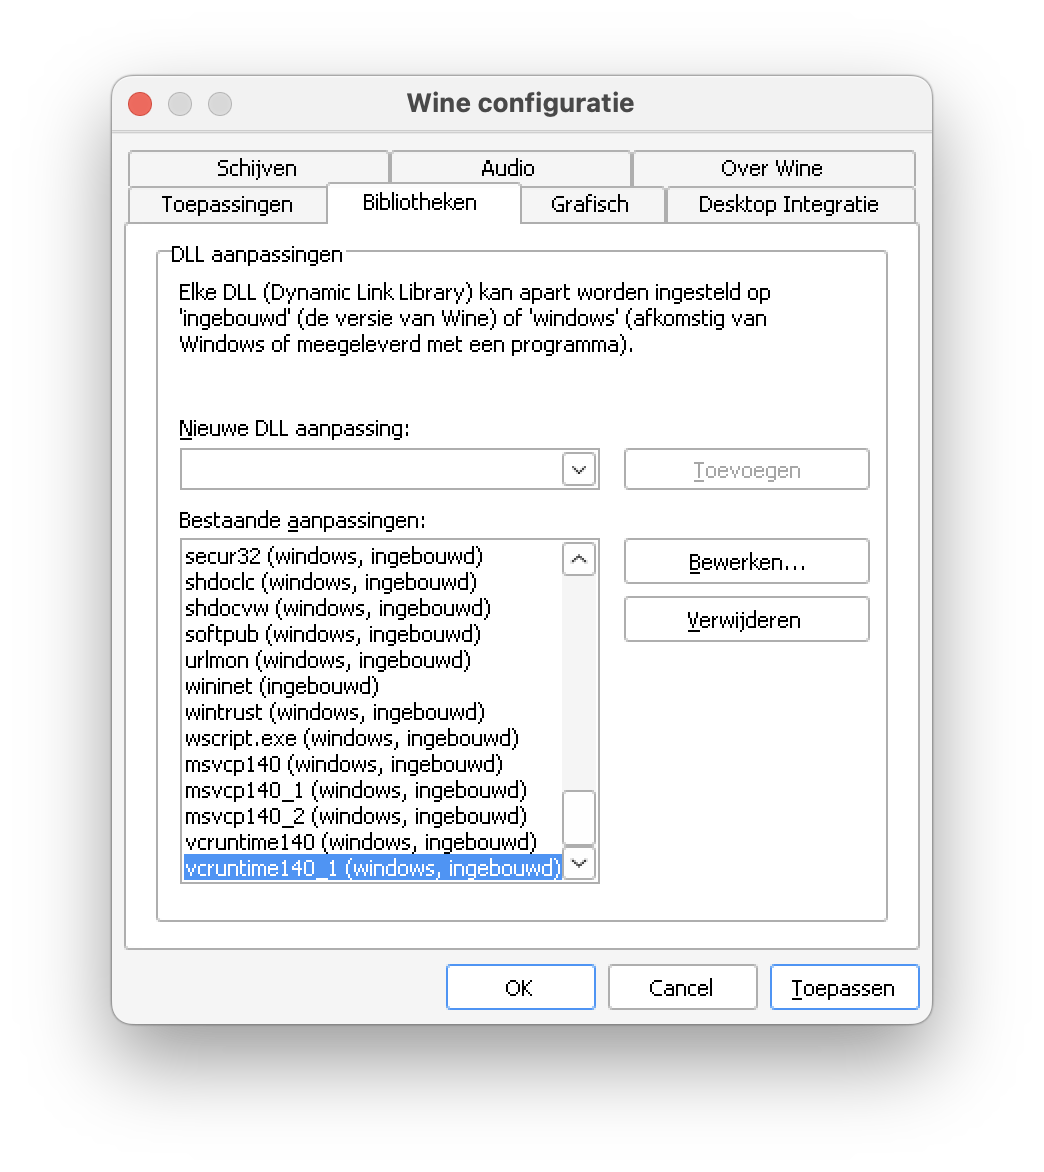
- vcruntime140
- vcruntime140_1
You will have to add these one by one, by selecting them from the dropdown and then clicking Add (Toevoegen).
After that, they should be visible in the list as shown below. Click Apply (Toepassen) and then OK.
Step 5: Fixing Lifepod Scene File
As a finishing touch, you have to remove the existing LifepodVideoLowest.mp4 from the game files, to avoid issues and crashes during the Lifepod scene. To make sure you can still enjoy the nice story of Subnautica 2, simply copy the LifepodVideoLow.mp4 file and name the copy to the LifepodVideoLowest.mp4 file, you just deleted.
Use the commands below to perform this task.
# Go into the gamefile movies folder
cd "$HOME/Library/Application Support/CrossOver/Bottles/Steam/drive_c/Program Files (x86)/Steam/steamapps/common/Subnautica2/Subnautica2/Content/Movies/"

# Remove the corrupt/incompatible Lowest
rm LifepodVideoLowest.mp4

# Duplicating Low as Lowest replacement
cp LifepodVideoLow.mp4 LifepodVideoLowest.mp4
Result
And that’s it. You’re done. Now you can fire up Steam, and the game you have long been waiting for. Subnautica 2.
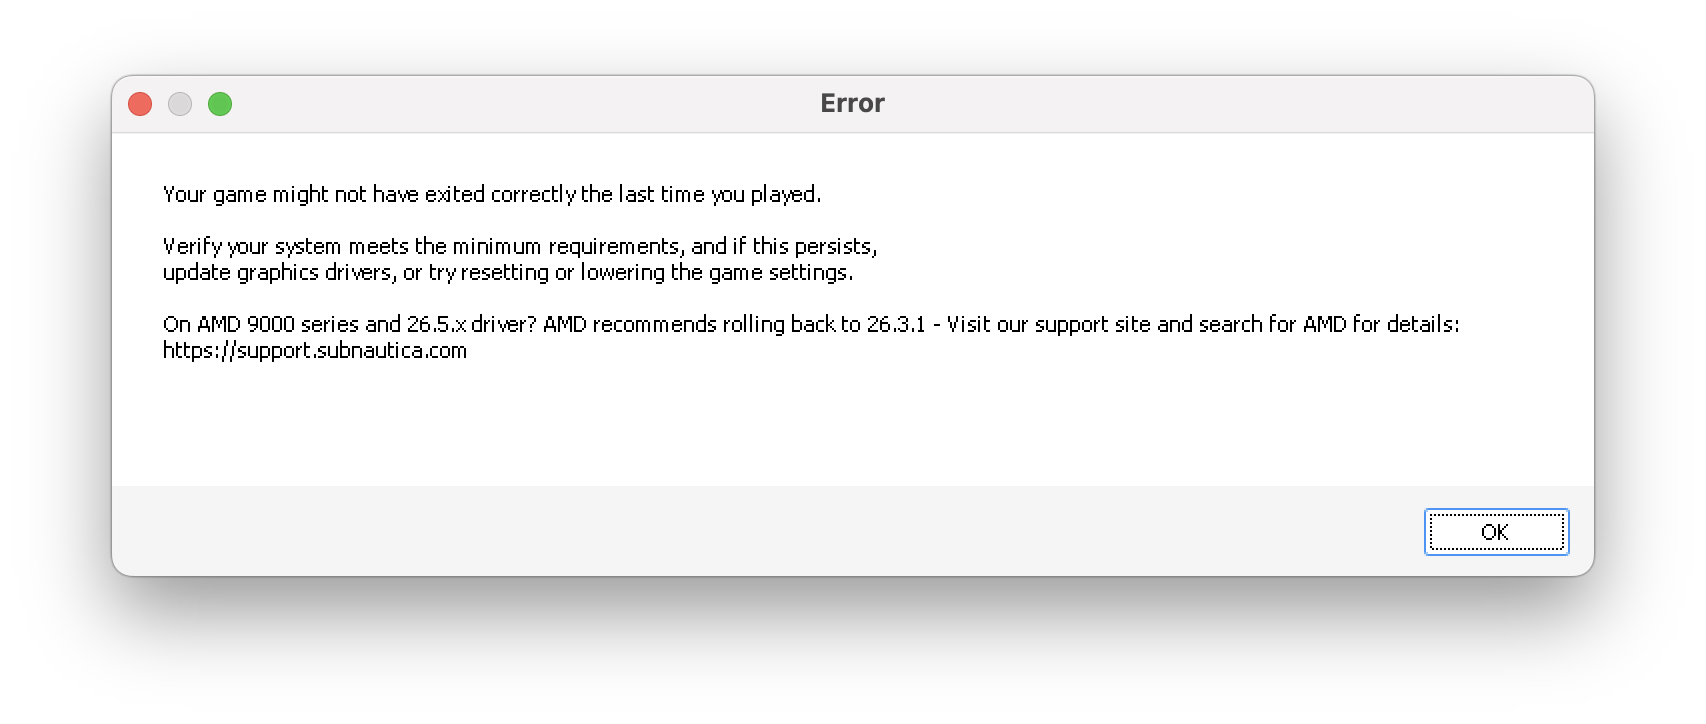
After launching, you will be prompted with this error. It’s safe to ignore this. Just click OK.
And then you’re in game. Enjoy!! Dive safe.